Tips for photographing your children in the snow
children
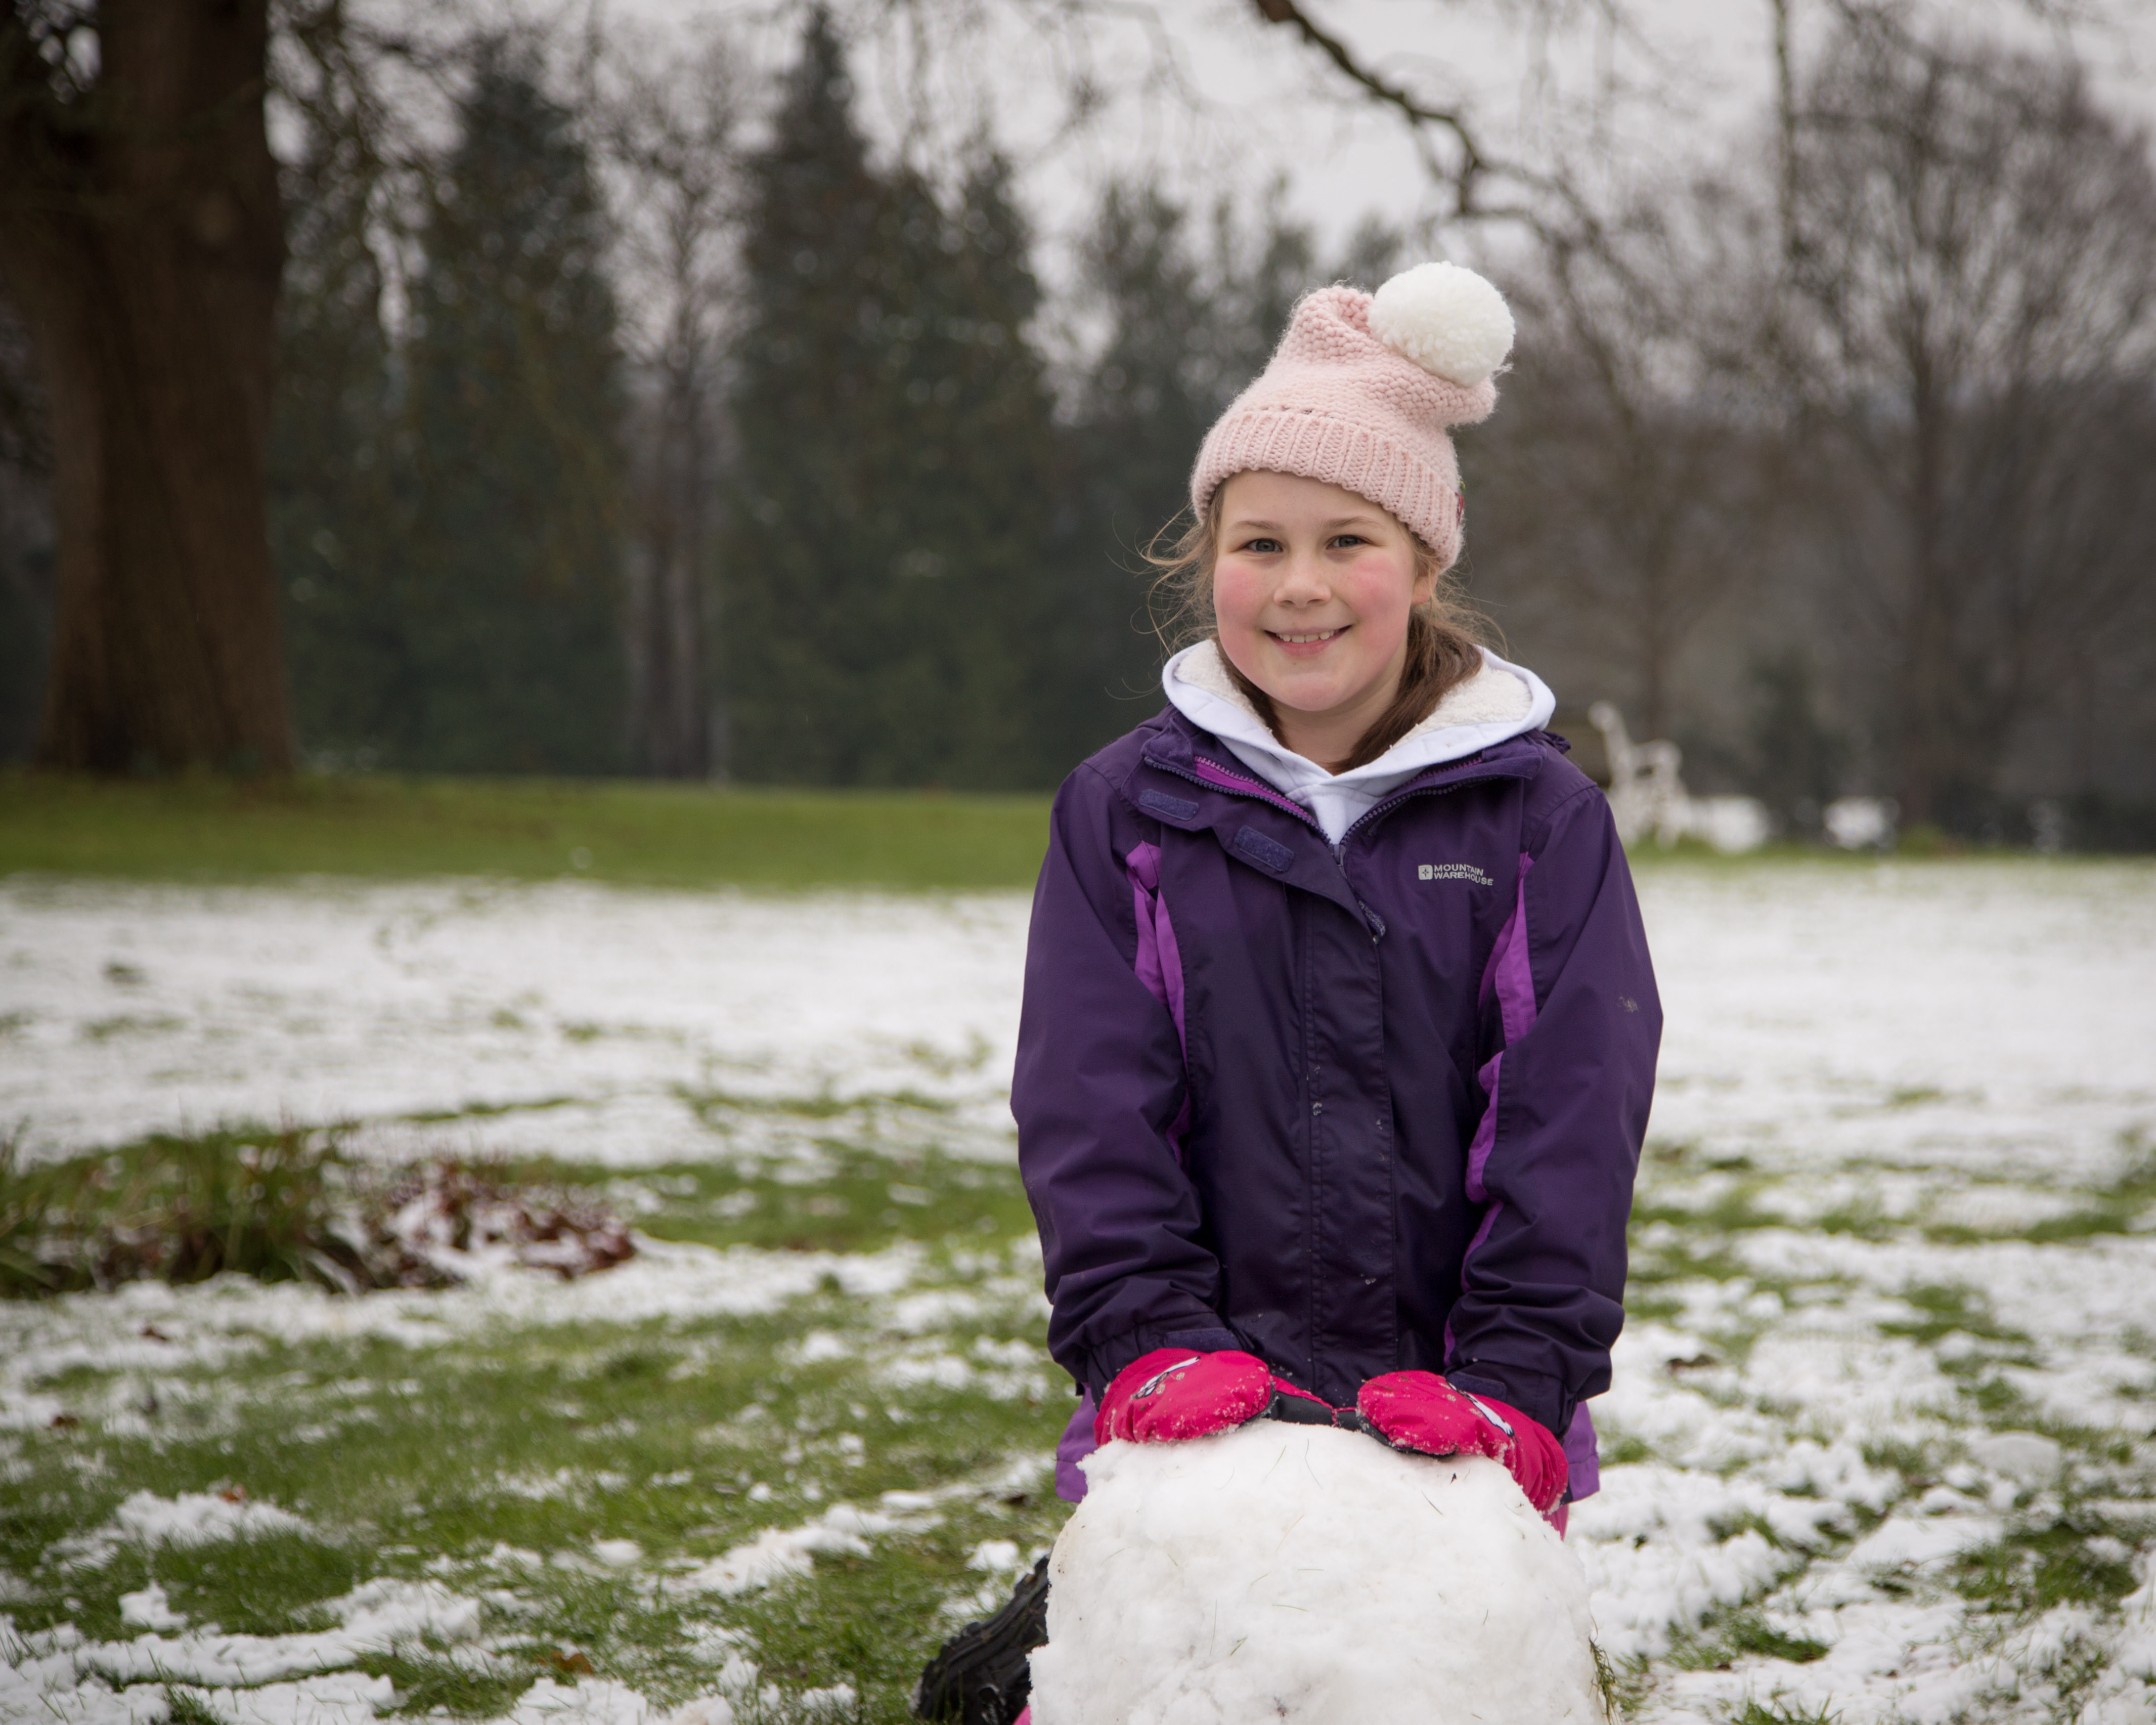
We’ve just had the biggest snowfall here since about 2010. Many of the schools are closed and children up and down the country are making the most of it, out enjoying themselves sledging and building snowmen. It’s the perfect opportunity to get some lovely photos of your children and you may not get the chance again for a few more years, so whatever you do, make sure you get out there with your camera to capture some of those memories.
Taking decent photos in the snow is not all that easy though. The camera is faced with a very bright, white scene and tries to compensate, often leading to quite dull and underexposed images. Also the scene is very cold and as a result, images can look quite ‘blue’. However, there are a few things you can do which will see a vast improvement in your images. Read on to find out more…
Which camera and lens is best?
If you have a ‘proper’ camera, like a DSLR then it’s really worth getting it out as you will get much better quality images than when using your phone. However, if all you have to hand is a phone camera, then use than too. You can still have a play and try some of the suggestions below. It’s always better to have some images, than none at all so just use what you have!
If you have a choice of lenses and are not sure which one to go for, then I find a mid-range zoom lens is ideal as you can capture lots of different scenarios – including close-ups and wider scenes, without needing to change lenses (which is tricky if you have very cold hands!). I have a 24-105mm f4 lens which I often use when I’m out and about. You can also get some fantastic images using a prime lens (with a fixed focal length) such as a 35mm or 50mm lens. Although these have a fixed focal length (no zoom), they usually have a very wide aperture which is great in low light.
What time of day is it best to take photos in the snow?
The light changes throughout the day and even in winter, the light is better for taking photos in the morning and evening, rather than the middle of the day. In the morning and evening, the light is softer and the angle lower, making scenes look prettier, especially when there is a covering of snow on the ground. In the middle of the day when the sun is high, the light is flatter and less interesting. So get out as early as you can and avoid around 12-2pm ideally.
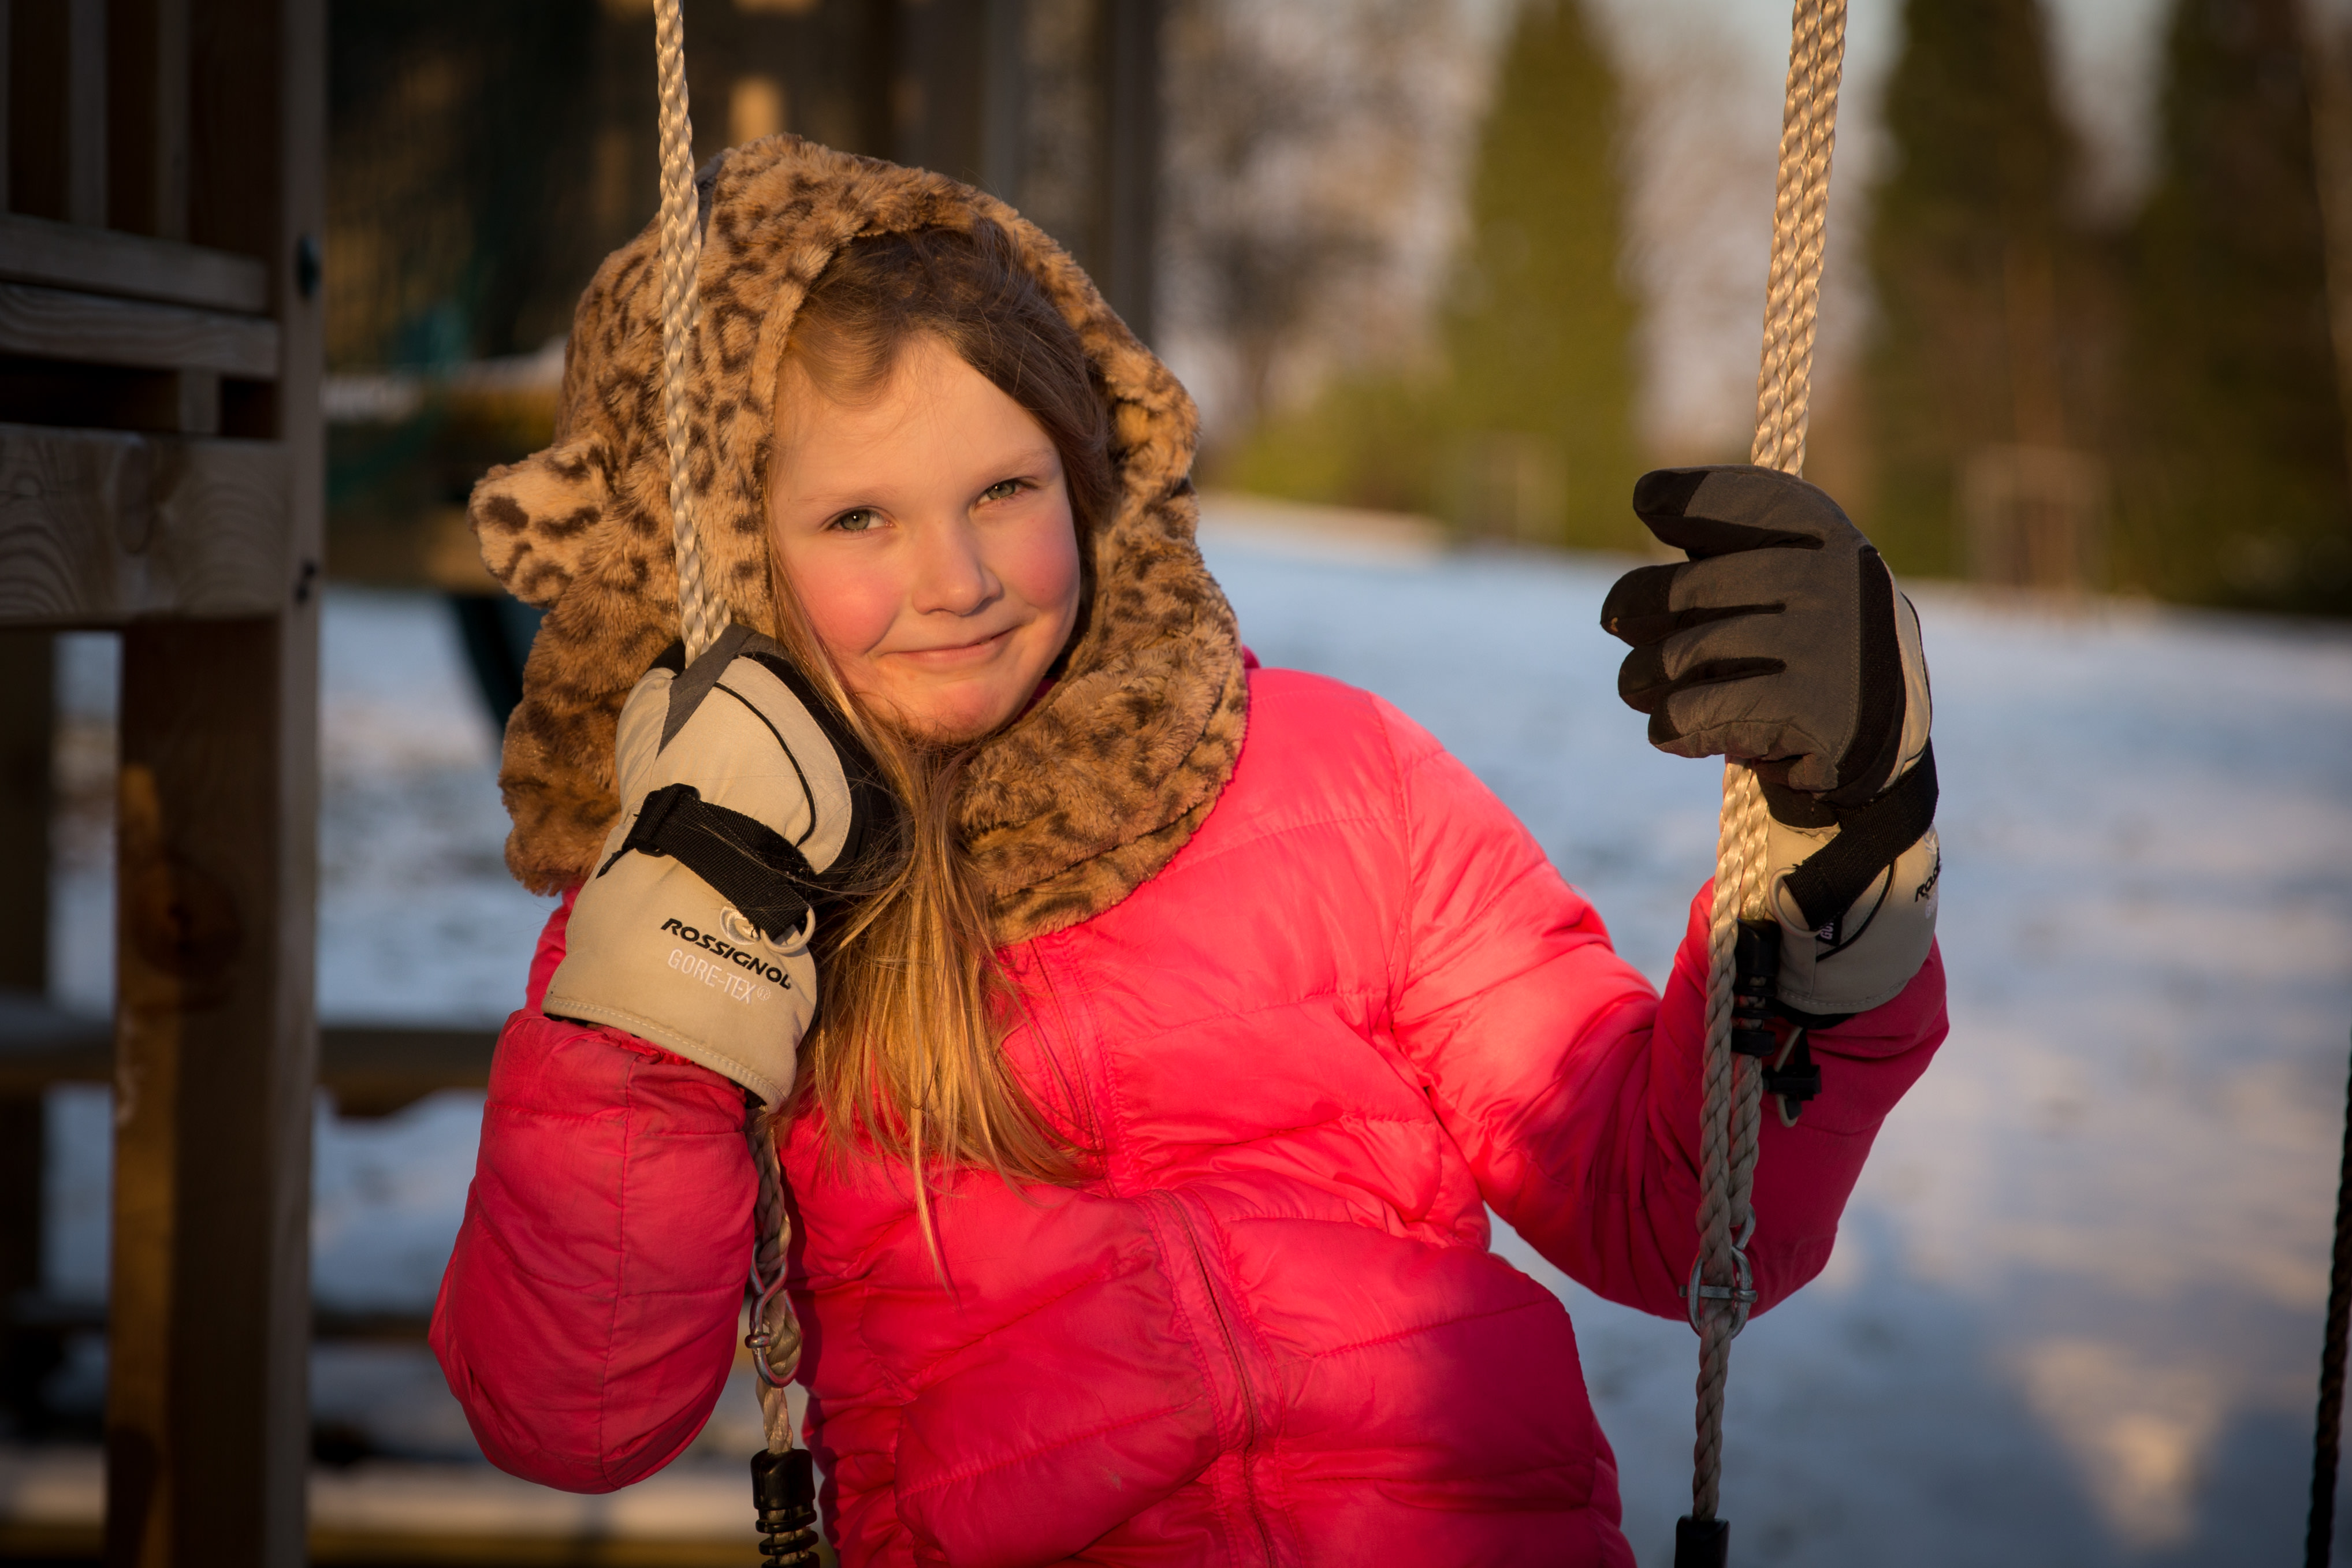
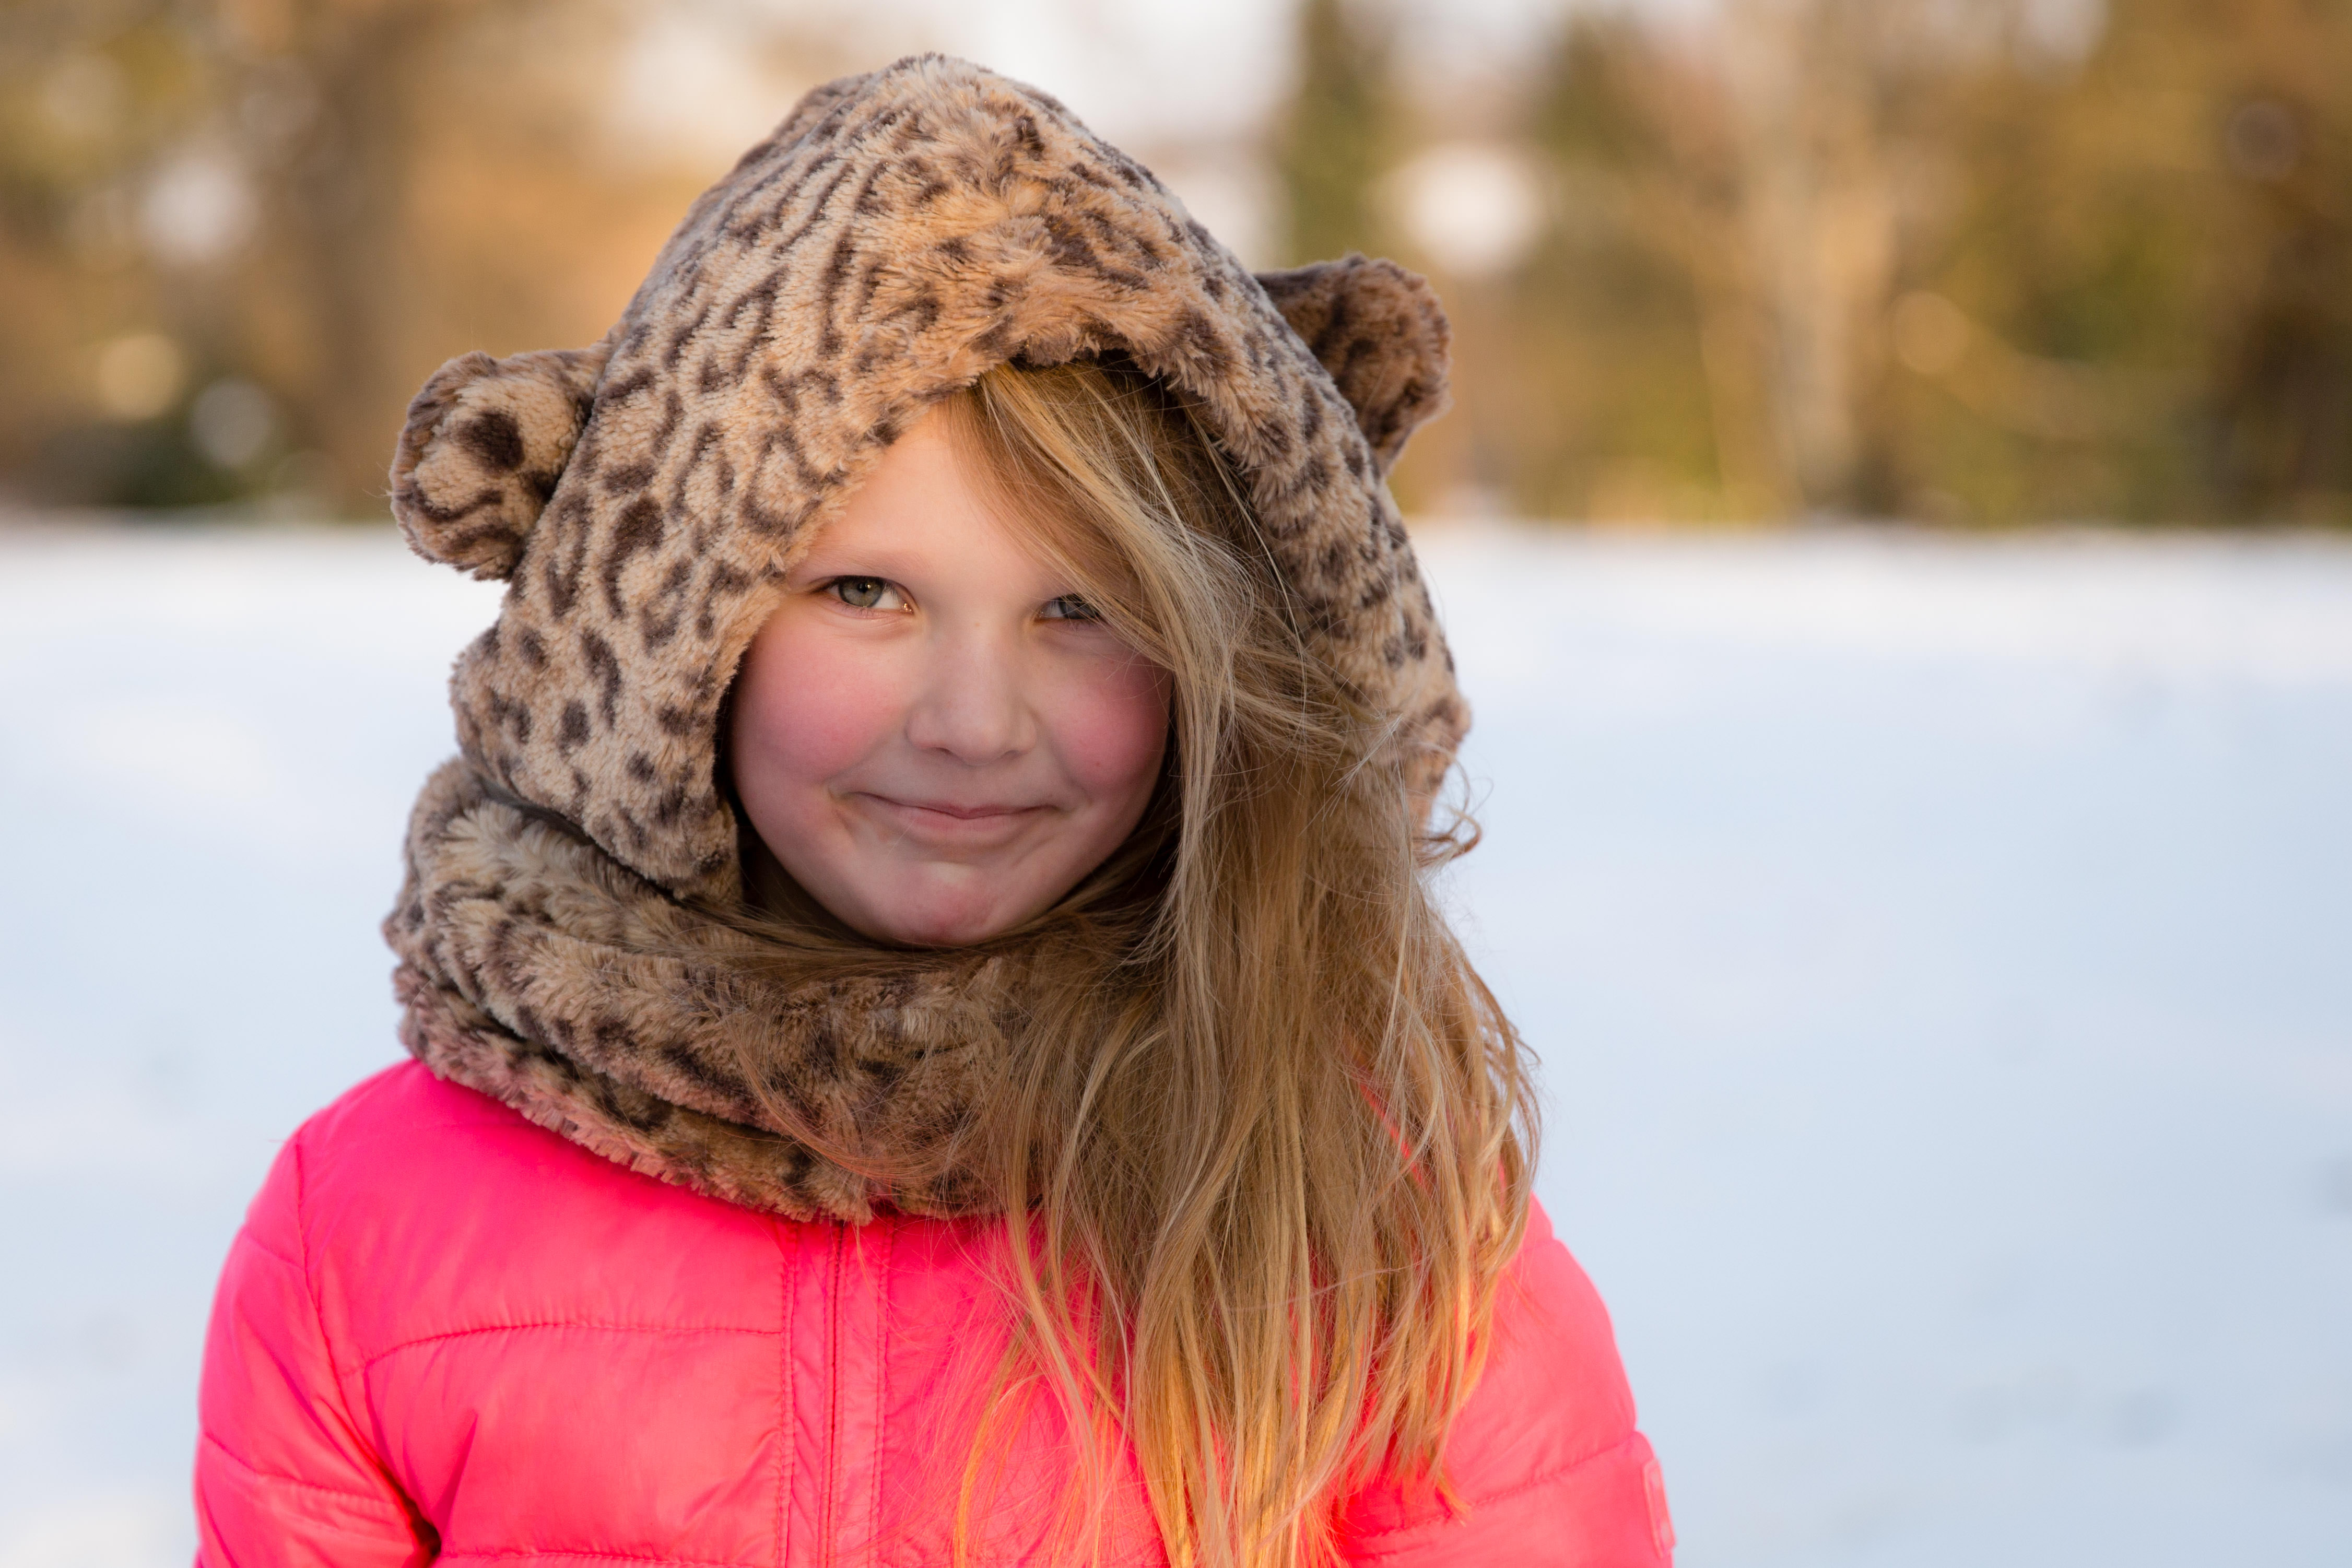
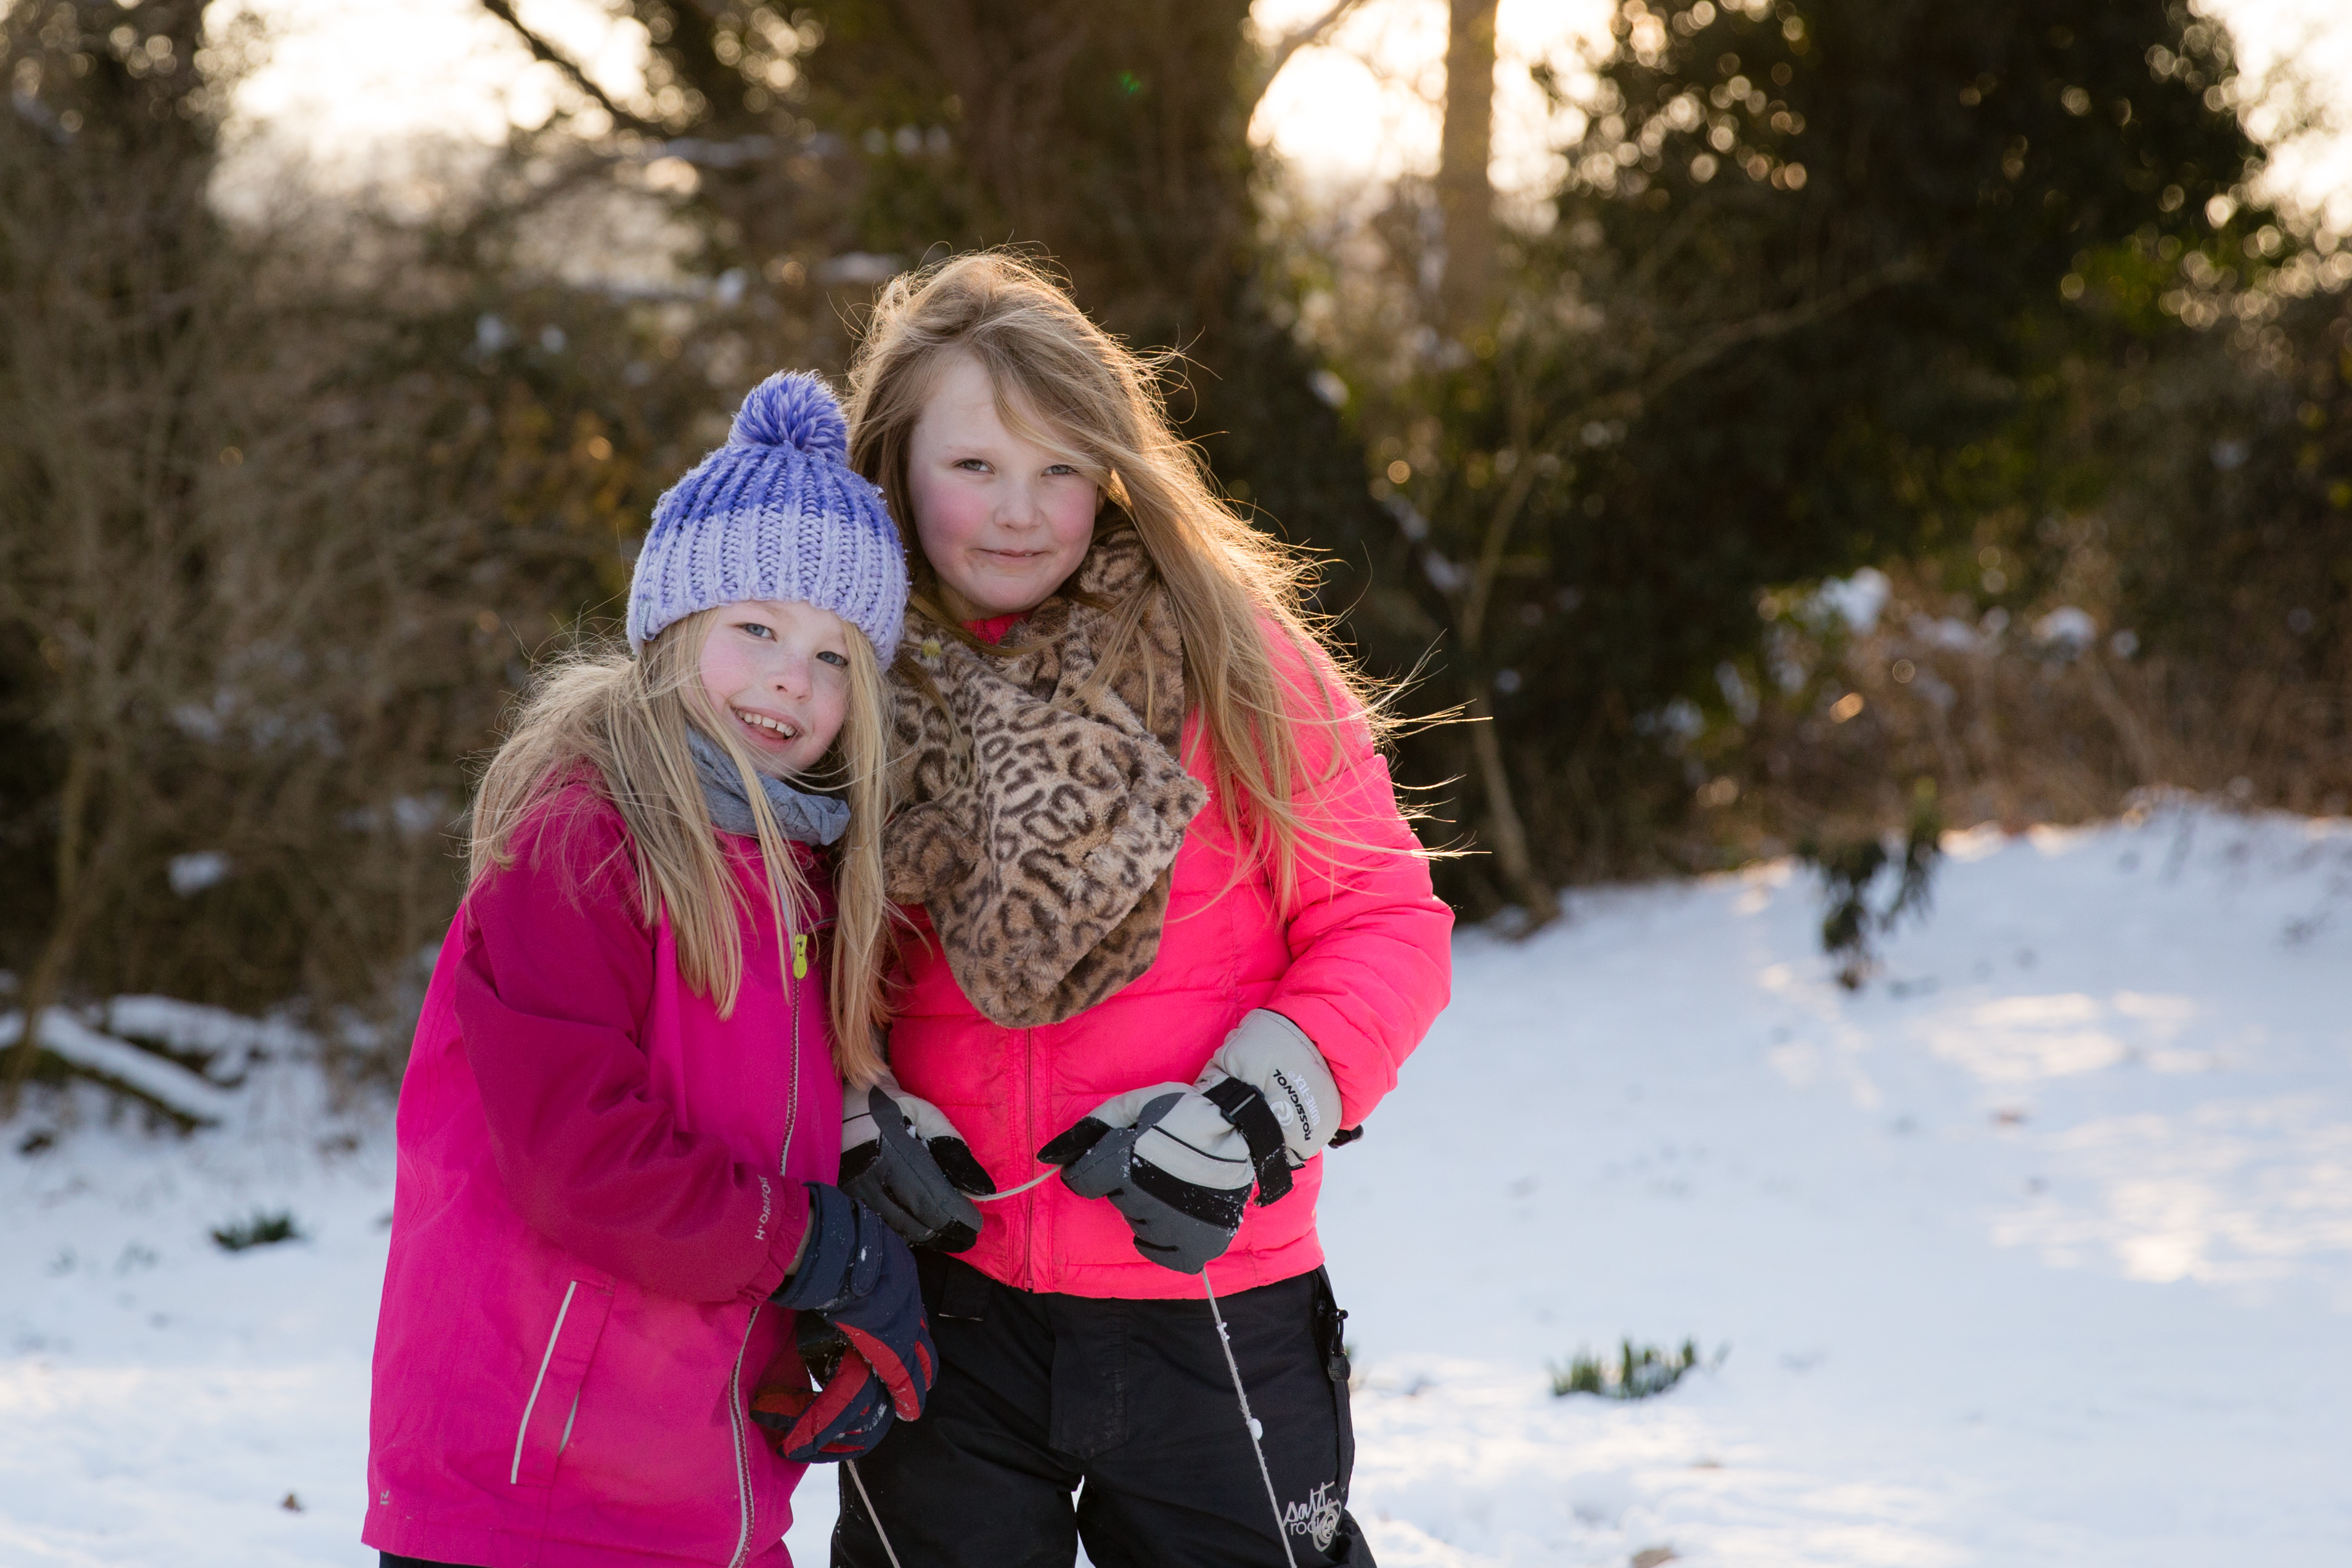
On snowy days you might have sunshine or it could be quite overcast. If the sun is out then all the better, as this will give warmth to your images and can even be used quite creatively. You can either shoot with the sun behind you (which works well if the sun is very low, late in the day, as you can use the sunlight to light your children’s faces). Alternatively, you can try shooting into the sun (with the sun behind your subject) which can give a lovely glow behind your children’s heads. If the sun is low behind the subject then this can look really dramatic (see images below).
On cloudy days, try and work out where the sun is coming from (you can hold up your hand to try and work out the direction of the sun), then try and make sure you use that light and get your children facing it. This little bit of light, even on a cloudy day, will help brighten your subject and you’ll have a better exposure as a result.
How should I set up my camera?
Again if you have a DSLR or other camera with adjustable settings, you can make some simple adjustments to improve your images in camera. As mentioned above, cameras tend to underexpose snowy scenes as they ‘see’ a lot of brightness and try to compensate by giving a darker exposure. You can change this in manual mode but if you don’t want to play around in manual, try using ‘exposure compensation’ and setting your camera’s exposure, say one stop higher than it would otherwise have been. This will give you a slightly brighter (and therefore better quality) image.
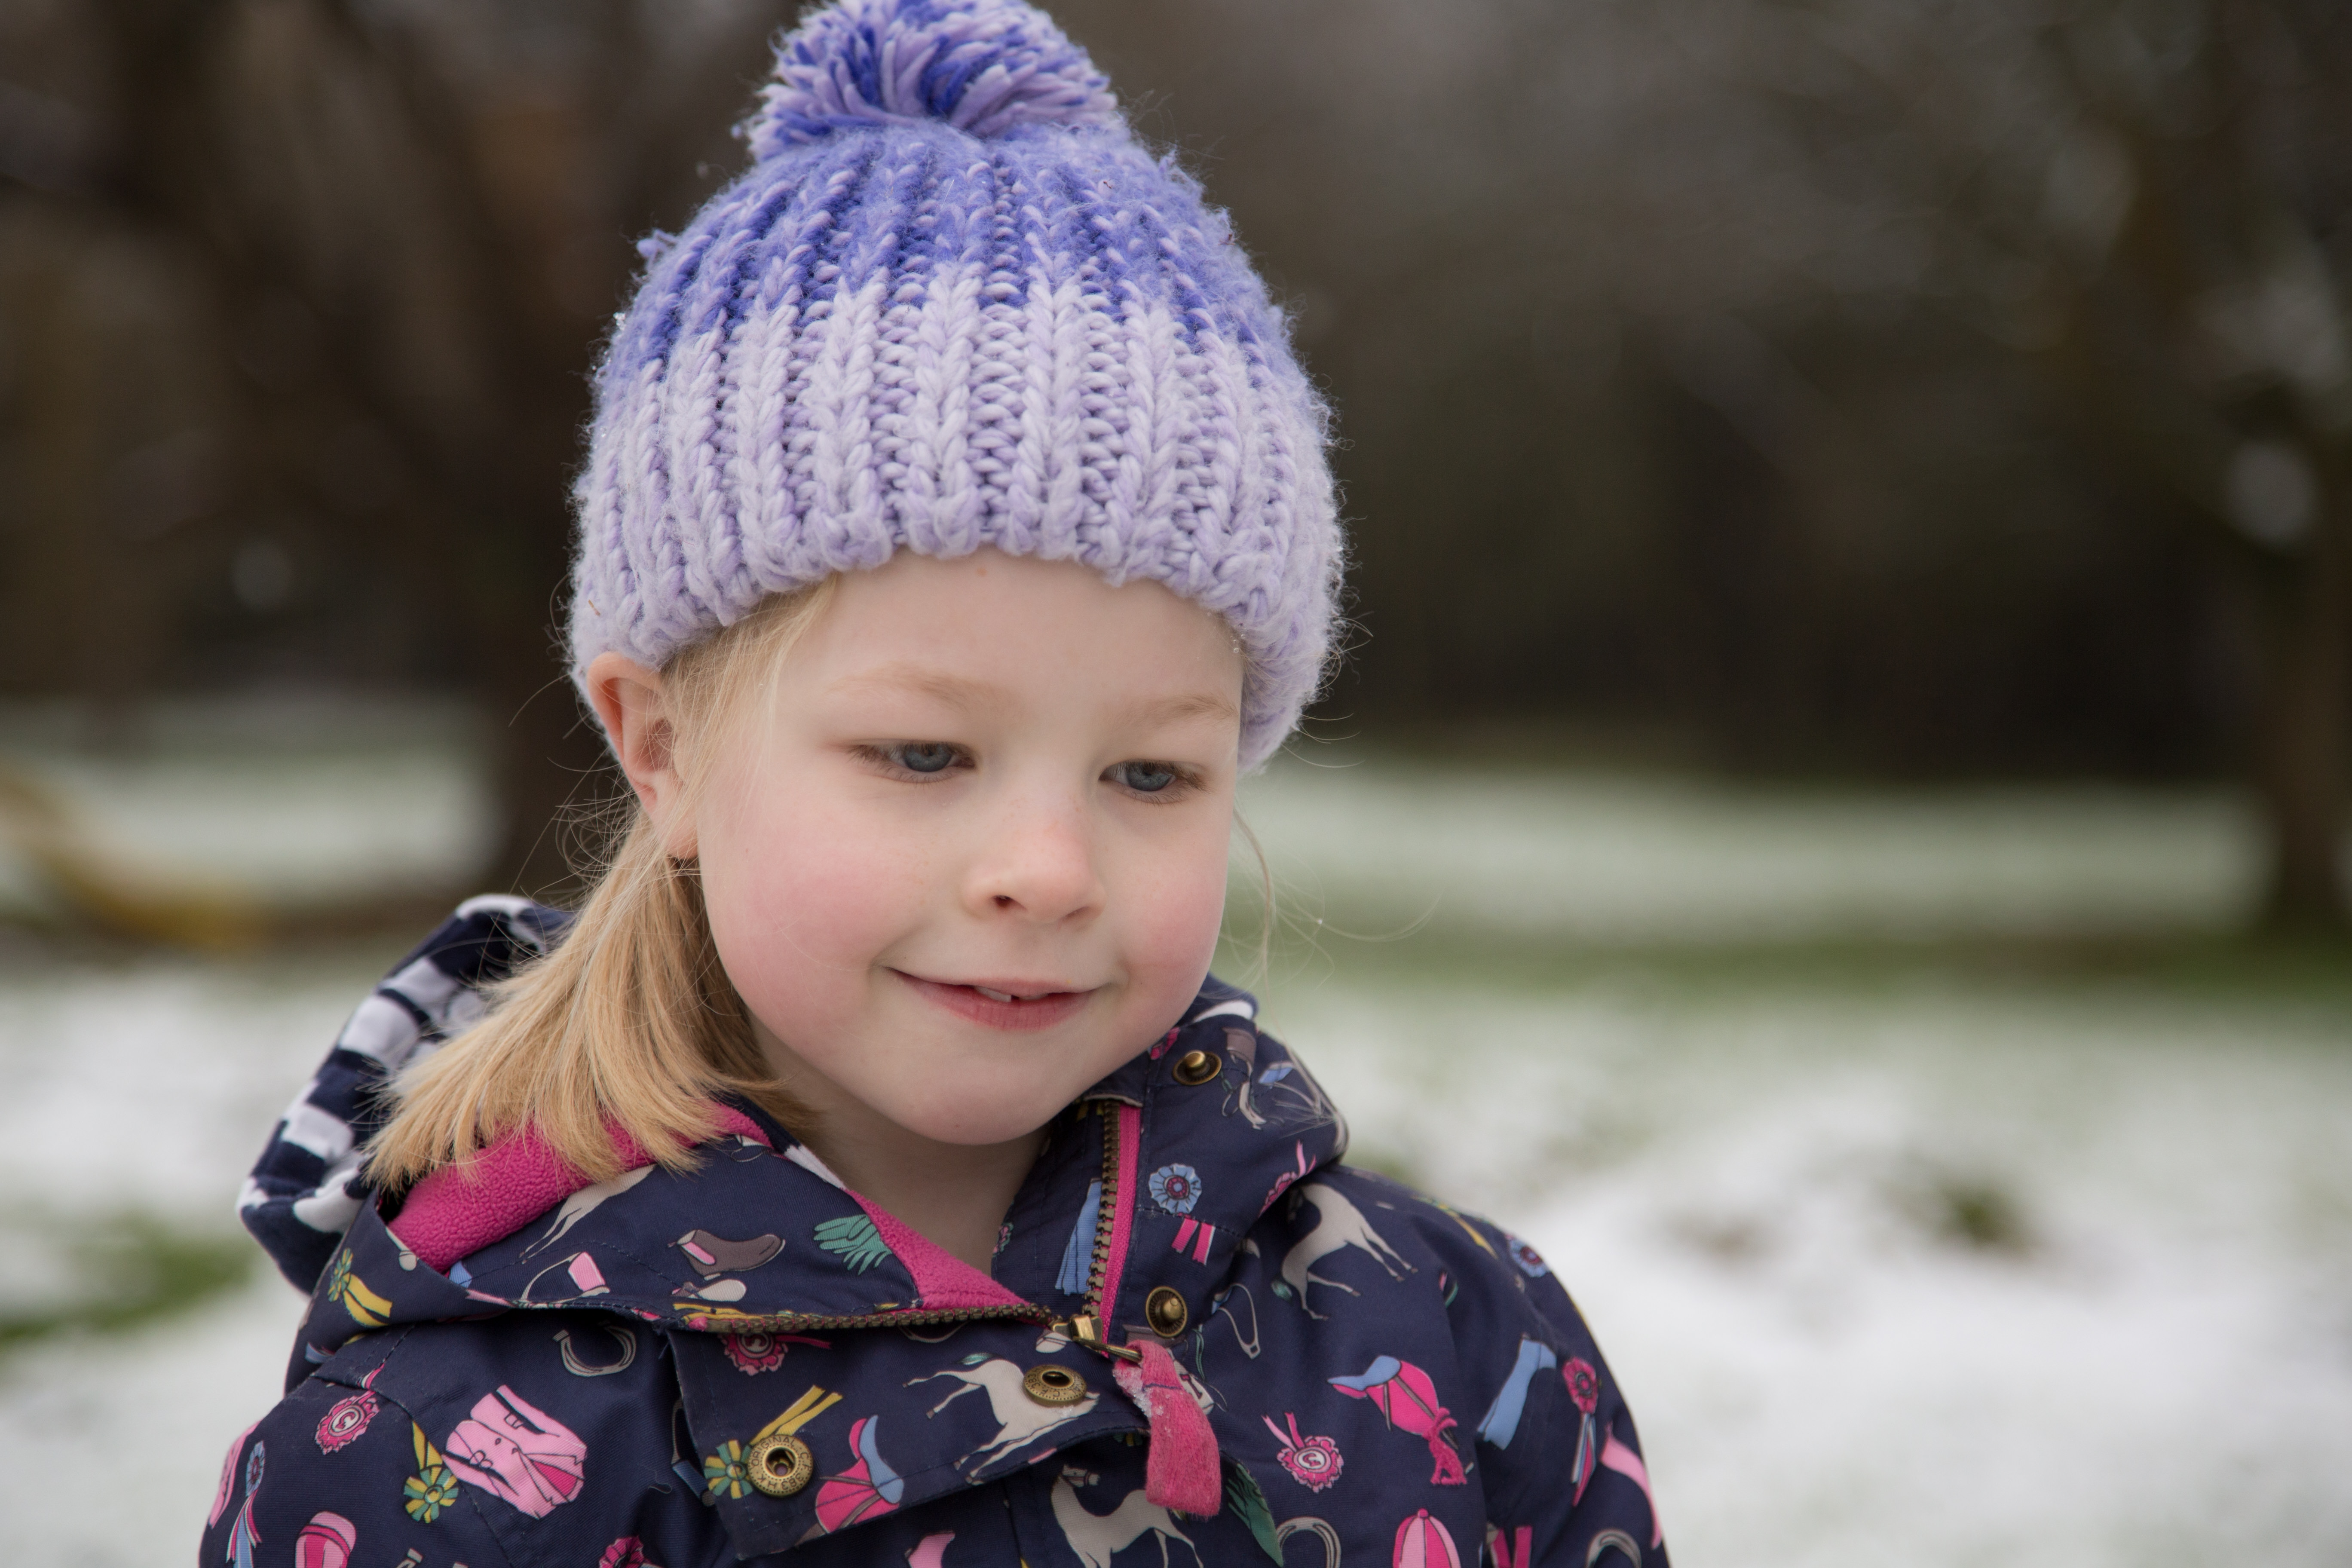
Also because snowy scenes are quite ‘cold’, your images may render a little ‘blue’ so you can compensate for this by changing the camera’s white balance. I often use the ‘shady’ setting which has the effect of warming your images up. You could also try the ‘cloudy’ setting or manually change the white balance in K (to around 6400K).
You may still need to make some adjustments with some basic editing afterwards to get just the image you were after. All of the images shown have been edited (in Lightroom) but I always try to get them as close to what I am after in camera, to save on editing time afterwards.
Both images above taken with white balance set to ‘shade’ to give a warmer image
Suggestions for variety and composition
So you have your camera all set up and your children are wrapped in layers from head to toe, and you are ready to head out. But what kinds of images should you be trying to take? I always try to take a wide variety of images, including close-ups and distance shots. It’s amazing what you get if you try lots of different things. Here are a few suggestions:
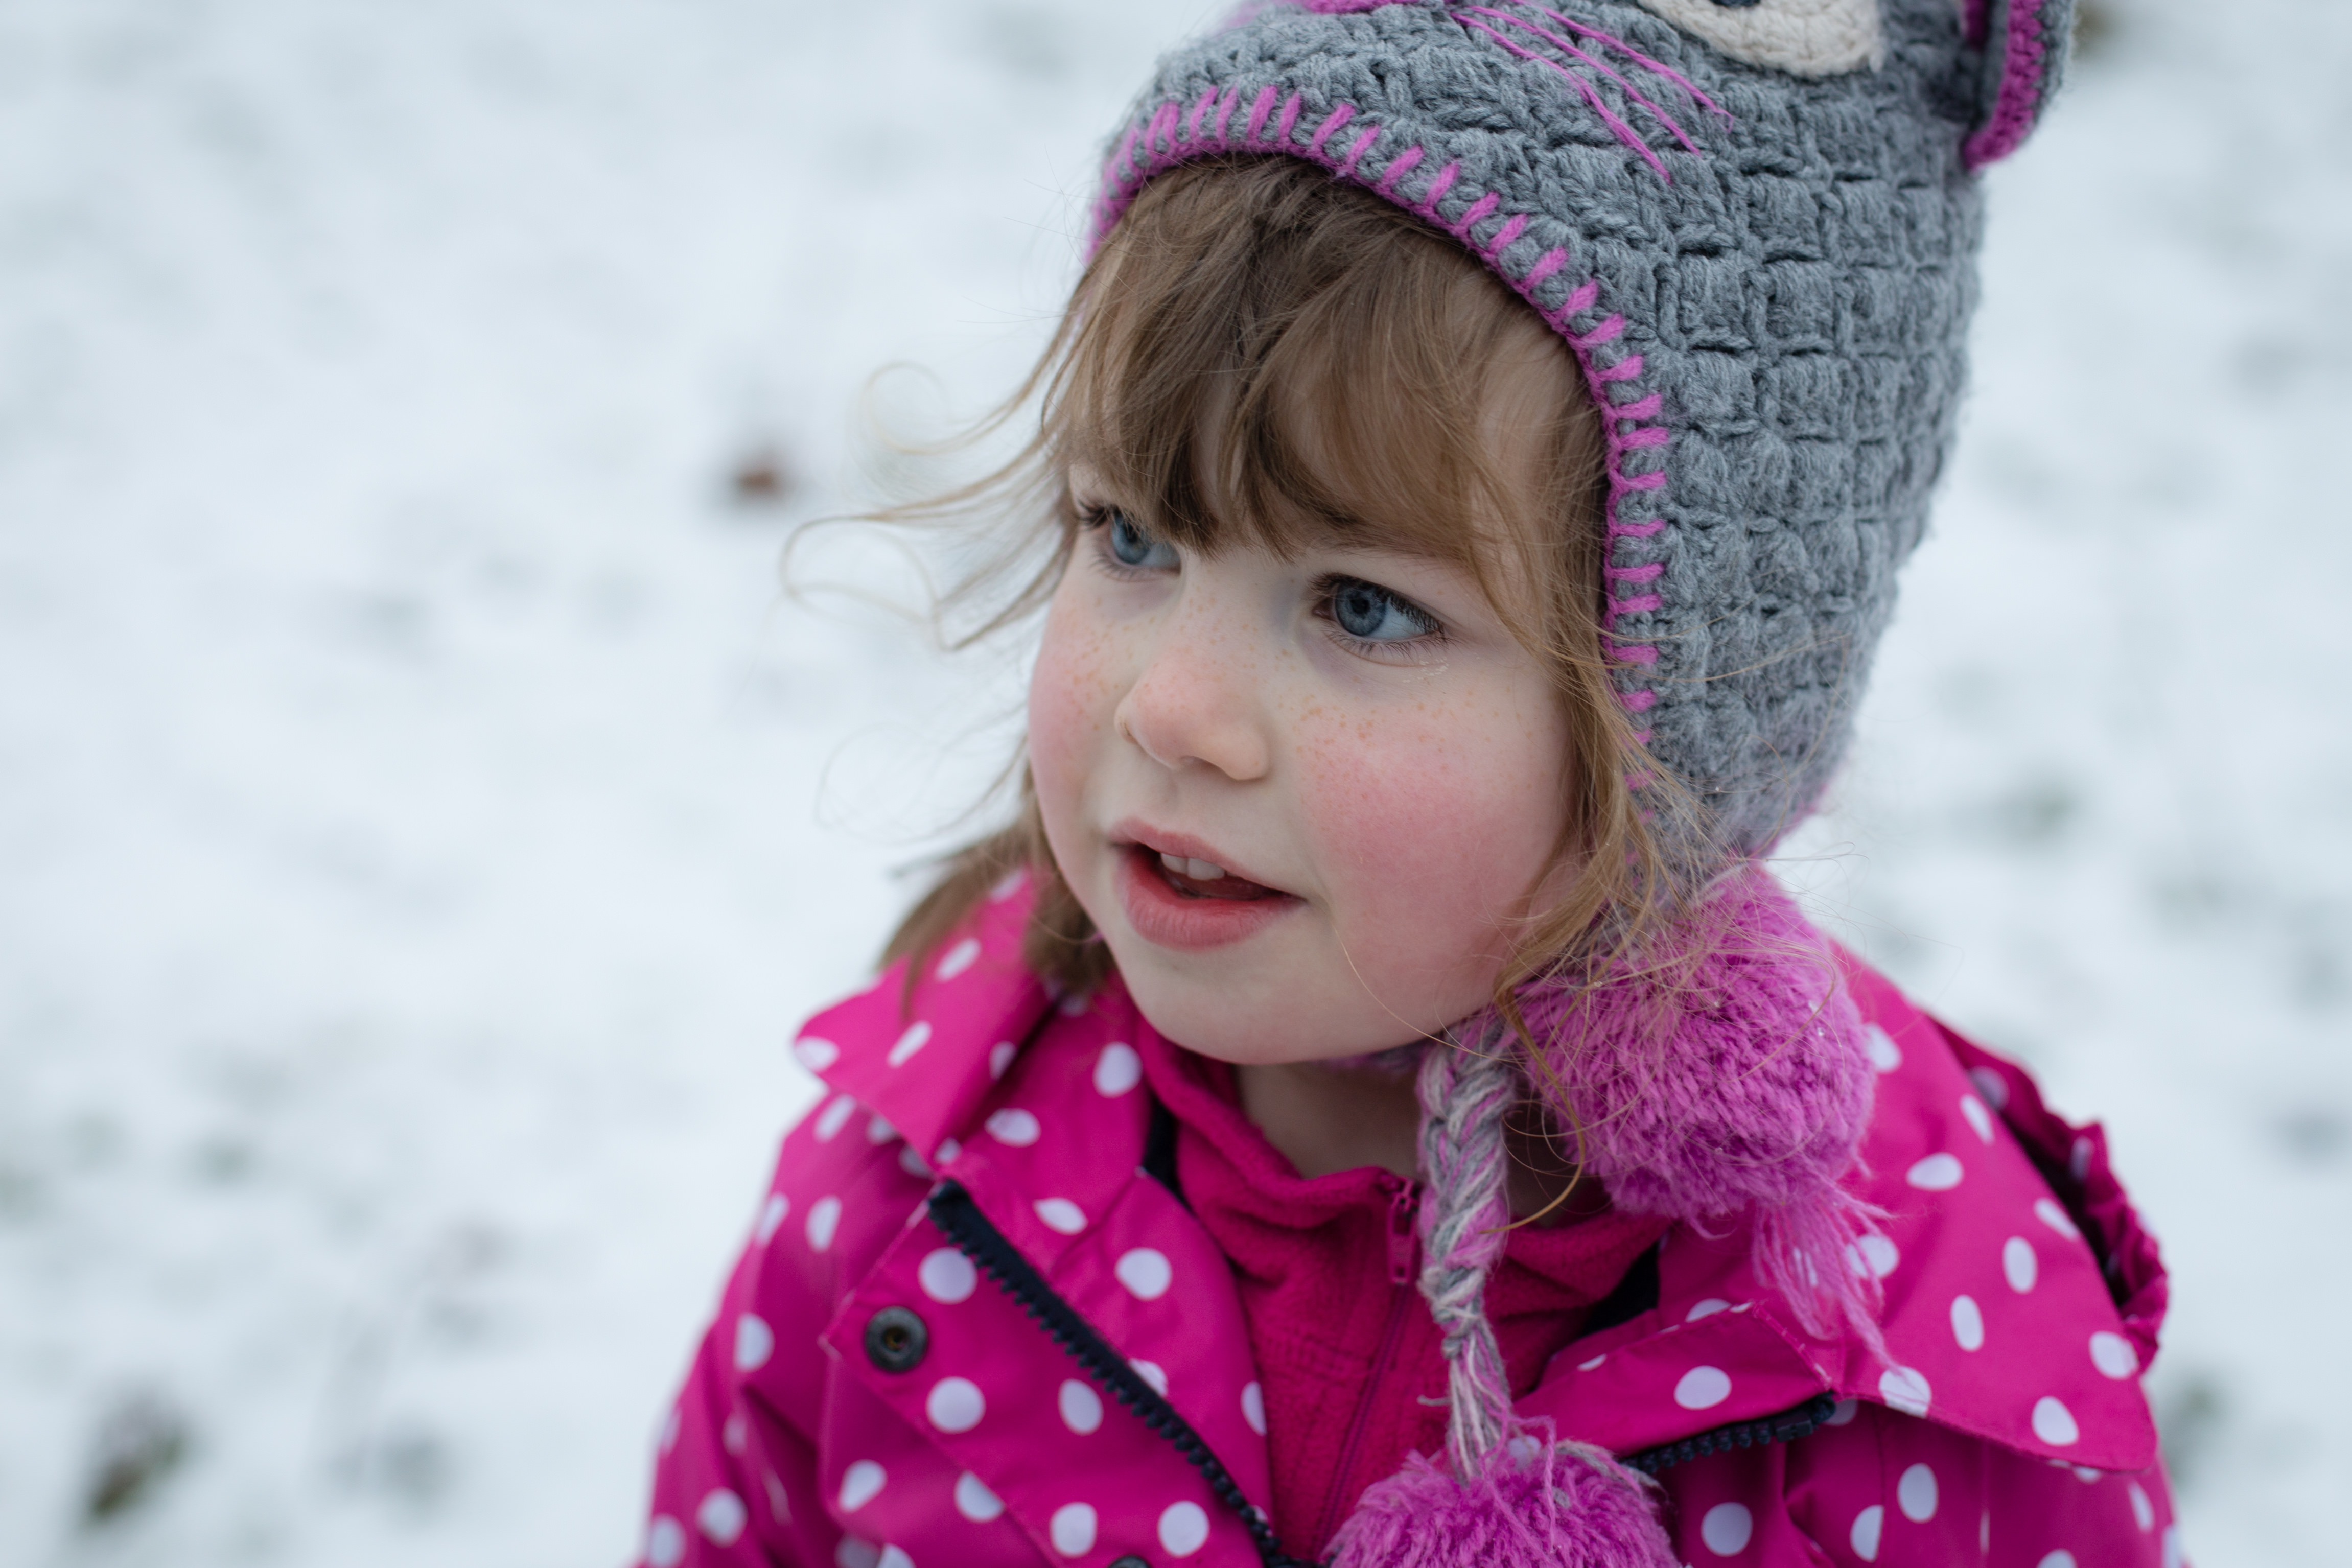
1. Take some lovely individual close ups of each of your children. Snowy backgrounds make for some really beautiful portraits. If you know how to adjust your settings then go for a really wide aperture (low f stop) to make your subject stand out from the background.
2. Take a few group shots as well – it’s lovely to get a group of children together when they are having fun in the snow. Get them to huddle up close, as this creates a better composition.
3. Stand back and take some photos from a distance so that you get the whole snowy scene together with your children having fun.
4. Try and get some action shots – sledging, running, throwing snowballs, whatever. It’s great to get some movement. You’ll need a fast shutter speed or put your camera into ‘sports mode’ if that setting is available. Shots of your children running towards you or walking away always make lovely images as well.
Save, share and print!
Finally, don’t forget to save your images and make sure they are backed up, even if you are just using your phone. Always try and print some too as that is one form of technology that won’t fail. If your hard drive fails or memory stick gets lost, you will always have your prints as memories.
I hope you manage to get out there with your camera in the next few days and take some fantastic images. Do share them too, I can’t wait to see some of them!
Thank you!
Finally I’d like to say a HUGE thank you to my friends and neighbours whose children I have been borrowing to photograph ever since the first snow fell. Thank you for letting me share the images in this post 🙂
The other side of the lens...
children
So I had been thinking about booking a shoot with another photographer for a while, partly to experience being the other side of the lens for a change and also to get some proper photos of the girls and me together so that I’d have them to look back on (I’m not in that many family photos as you can probably imagine as I’m usually the one holding the camera!). So when I saw that Kay Young was offering mini sessions over half term, I Jumped at the chance and booked a session. I have trained with Kay before and love her work, she does portraits and weddings and has a beautiful fine art style.
I actually really enjoyed the experience and learnt a lot from it. As I’m usually in the photographer’s shoes, it was enlightening to experience the shoot from the client’s point of view. I thought I would write a bit about my experience here and hopefully this might also help prepare some of you for a forthcoming shoot, if you are thinking of booking a session soon…
Preparation
So the mini session was booked for an afternoon during October half term. In the back of my mind I had been thinking about what we might wear, however on the morning of the shoot itself, I felt completely indecisive and ended up throwing quite a selection of outfits in the bag as I just couldn’t decide. Also having little time left to do the girl’s hair (three girls, it takes a while!), I threw hairbrushes and a selection of hair accessories into the bag too, hoping for the best.
This might all sound like a lot of fuss over nothing, but I know Kay’s gorgeous style and I wanted to make sure we all looked our best. After all, I want to look back and enjoy the photos for many years to come. Another reason for booking a professional photographer is that you make more effort with clothing than you would when you’re usually out and about which of course makes for the images being that bit more special.
So I’m now much more aware of the time it takes to get ready and my advice would be – think about what you are going to wear in advance and leave enough time on the day to get everyone prepared! Many of the families that I photograph typically have much younger children than my own so you may also need to allow time for last minute potty trips/nappy changes/packing essential comfort toys as required. Not forgetting preparing a few drinks and snacks just in case, as hungry children do not make good subjects of course!
Arrival for the shoot
When we arrived at Kay’s house, she immediately put everyone at ease. We chatted for a bit about photography (obviously, could chat all day about that) and she helped with our final outfit selection. A quick hairbrush and we were on our way…
The shoot itself
I find the girls quite hard to photograph myself these days (much harder than other people’s children) as they are really not interested. I am always trying to take their photo and the novelty for them has long worn off. So I was hoping they would respond better to someone they didn’t know photographing them. And fortunately they did…. but not for long! Kay has a lot of experience photographing children of all ages and she is amazingly quick. The girls had probably had enough after about half an hour and started to play up. Fortunately, Kay had already got plenty of shots in the bag by then so we could relax (and possibly a little bit of bribery on my part might have been involved!).
I loved watching her work and was intrigued to find that she was using an 85mm 1.2 lens for most of the shoot, coupled with a 135mm f2 lens. I don’t have a 135mm lens (yet) but I love my 85mm lens (I have the 1.8 version) and find I’m finding myself using it more and more. All these are prime lenses so have a fixed focal length but they are generally smaller and lighter than zoom lenses and if you find one that you love then you can get away without using zooms at all.
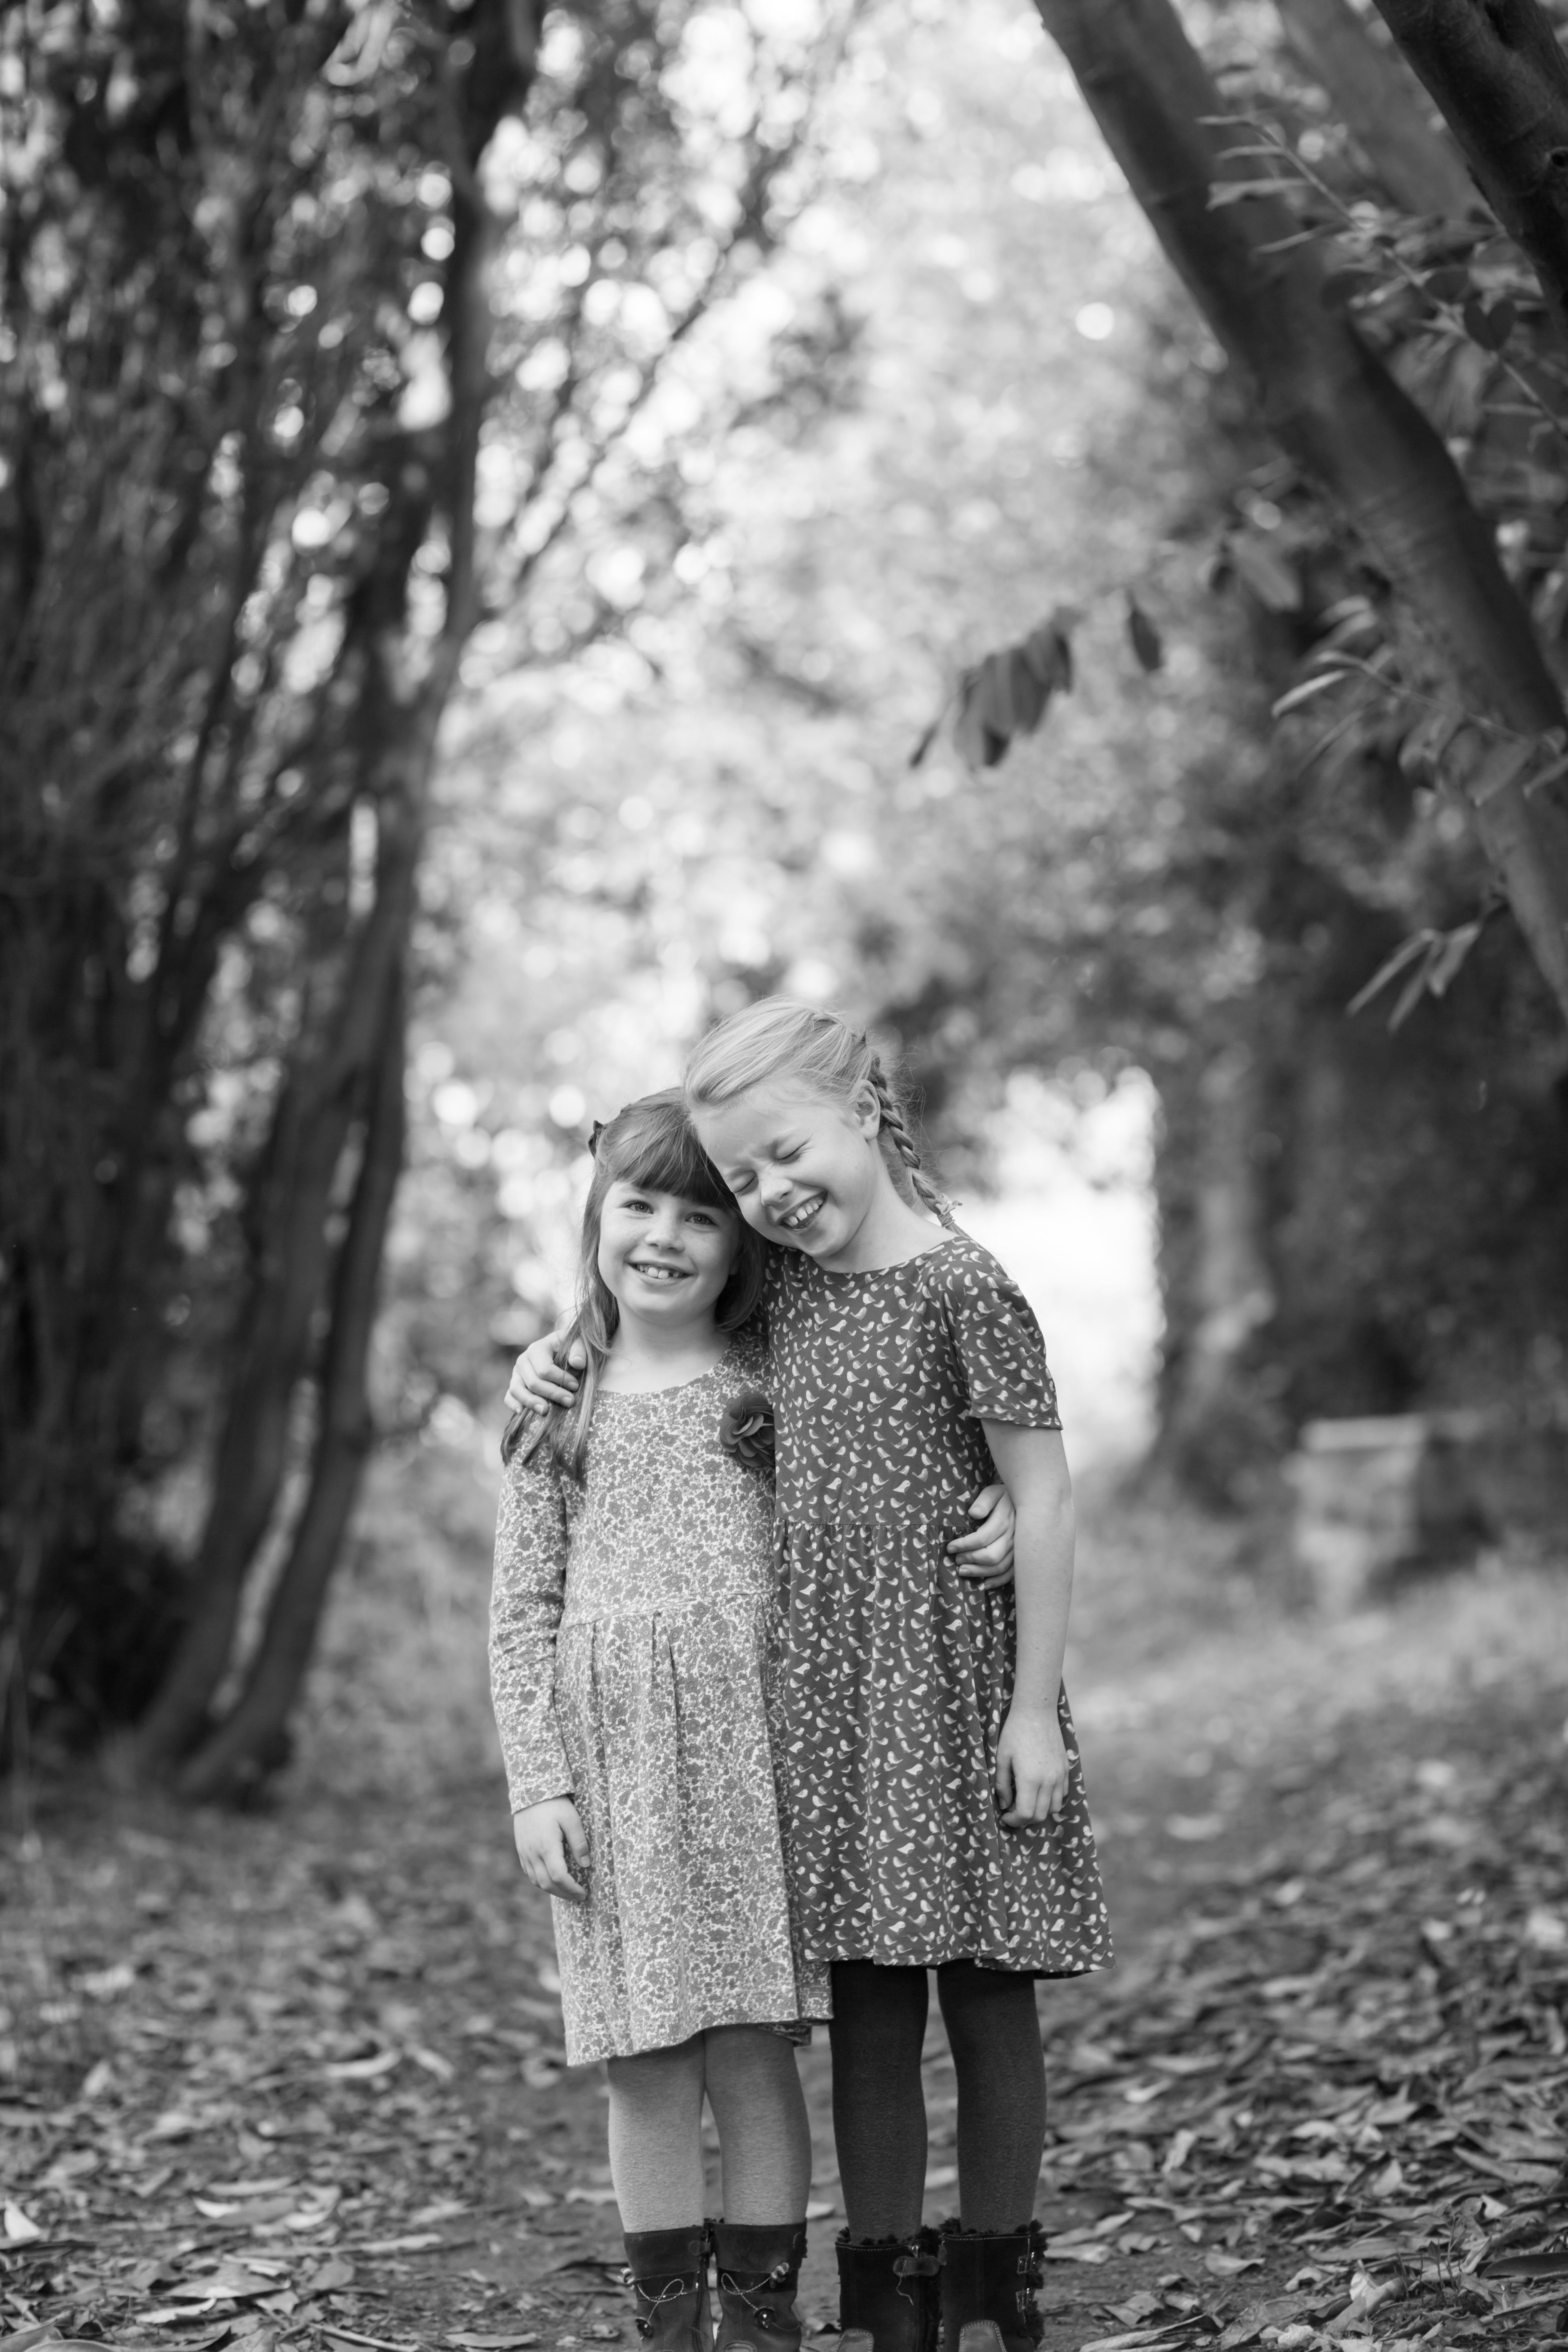
Here are a few of my favourite images from the session…
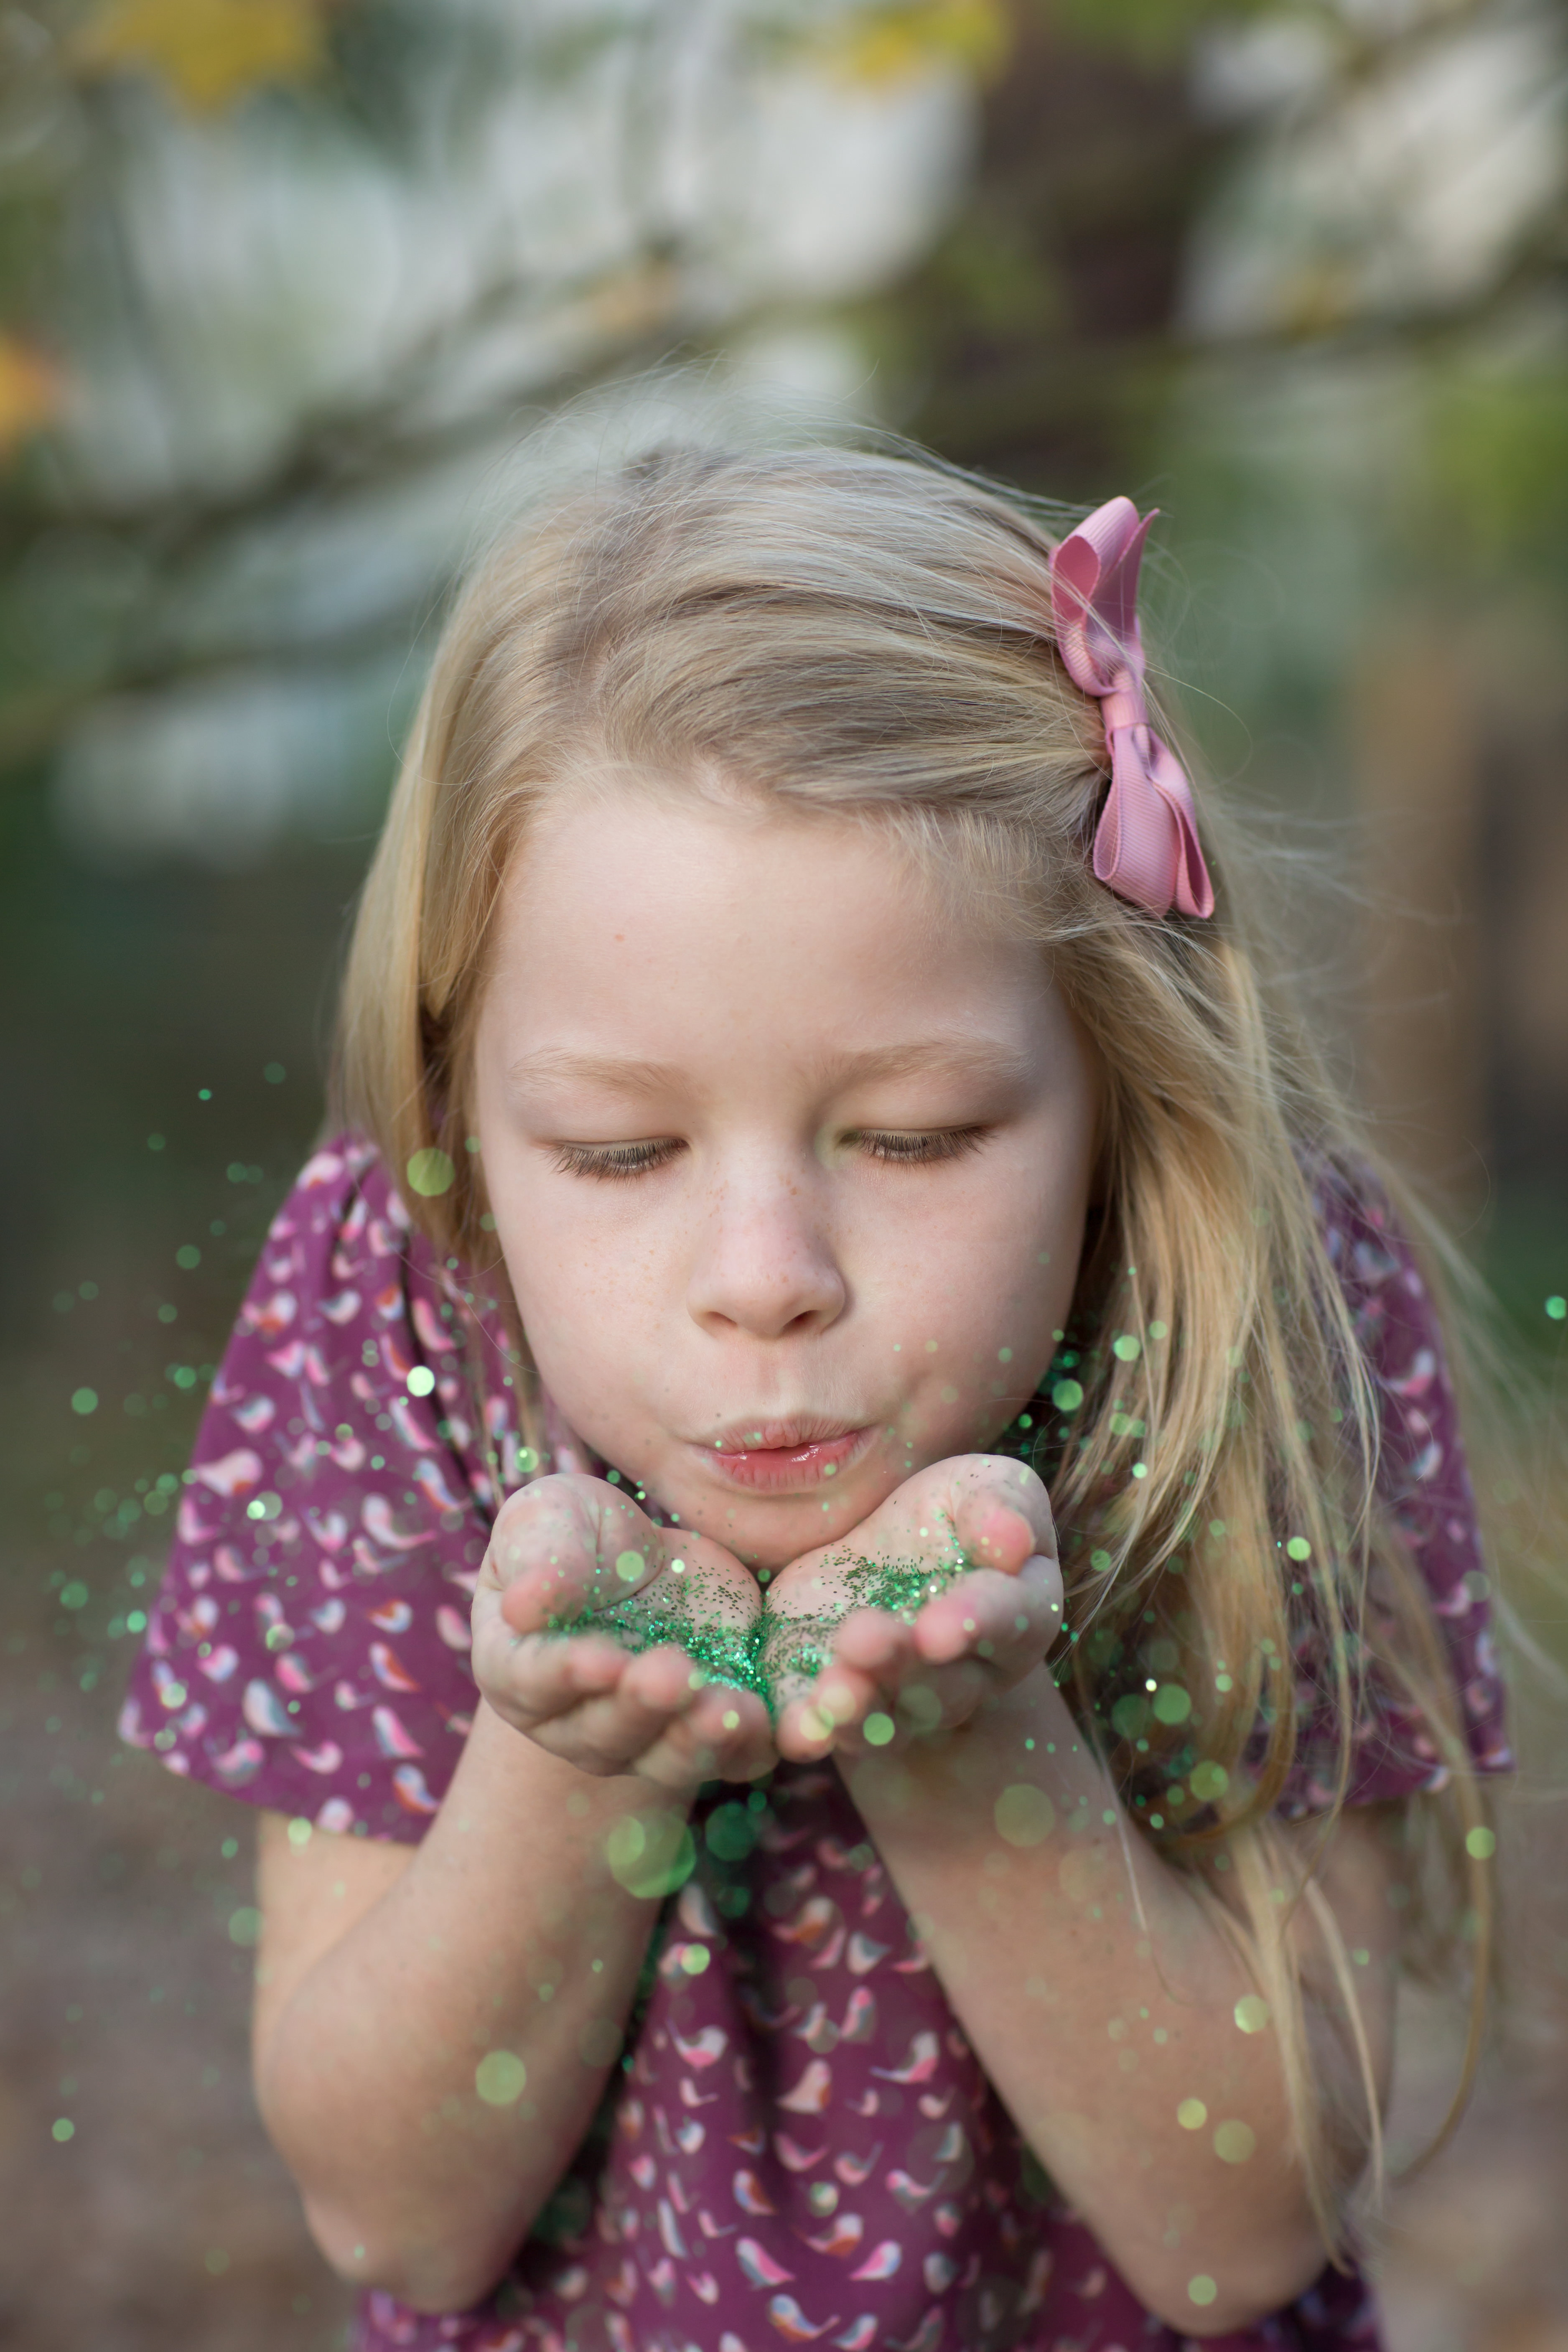
When the girls had had enough, we moved to another location close-by for a few last photos. Kay had some tricks up her sleeve, like glitter which the girls had fun with towards the end of the shoot, creating images like this…
Headshots
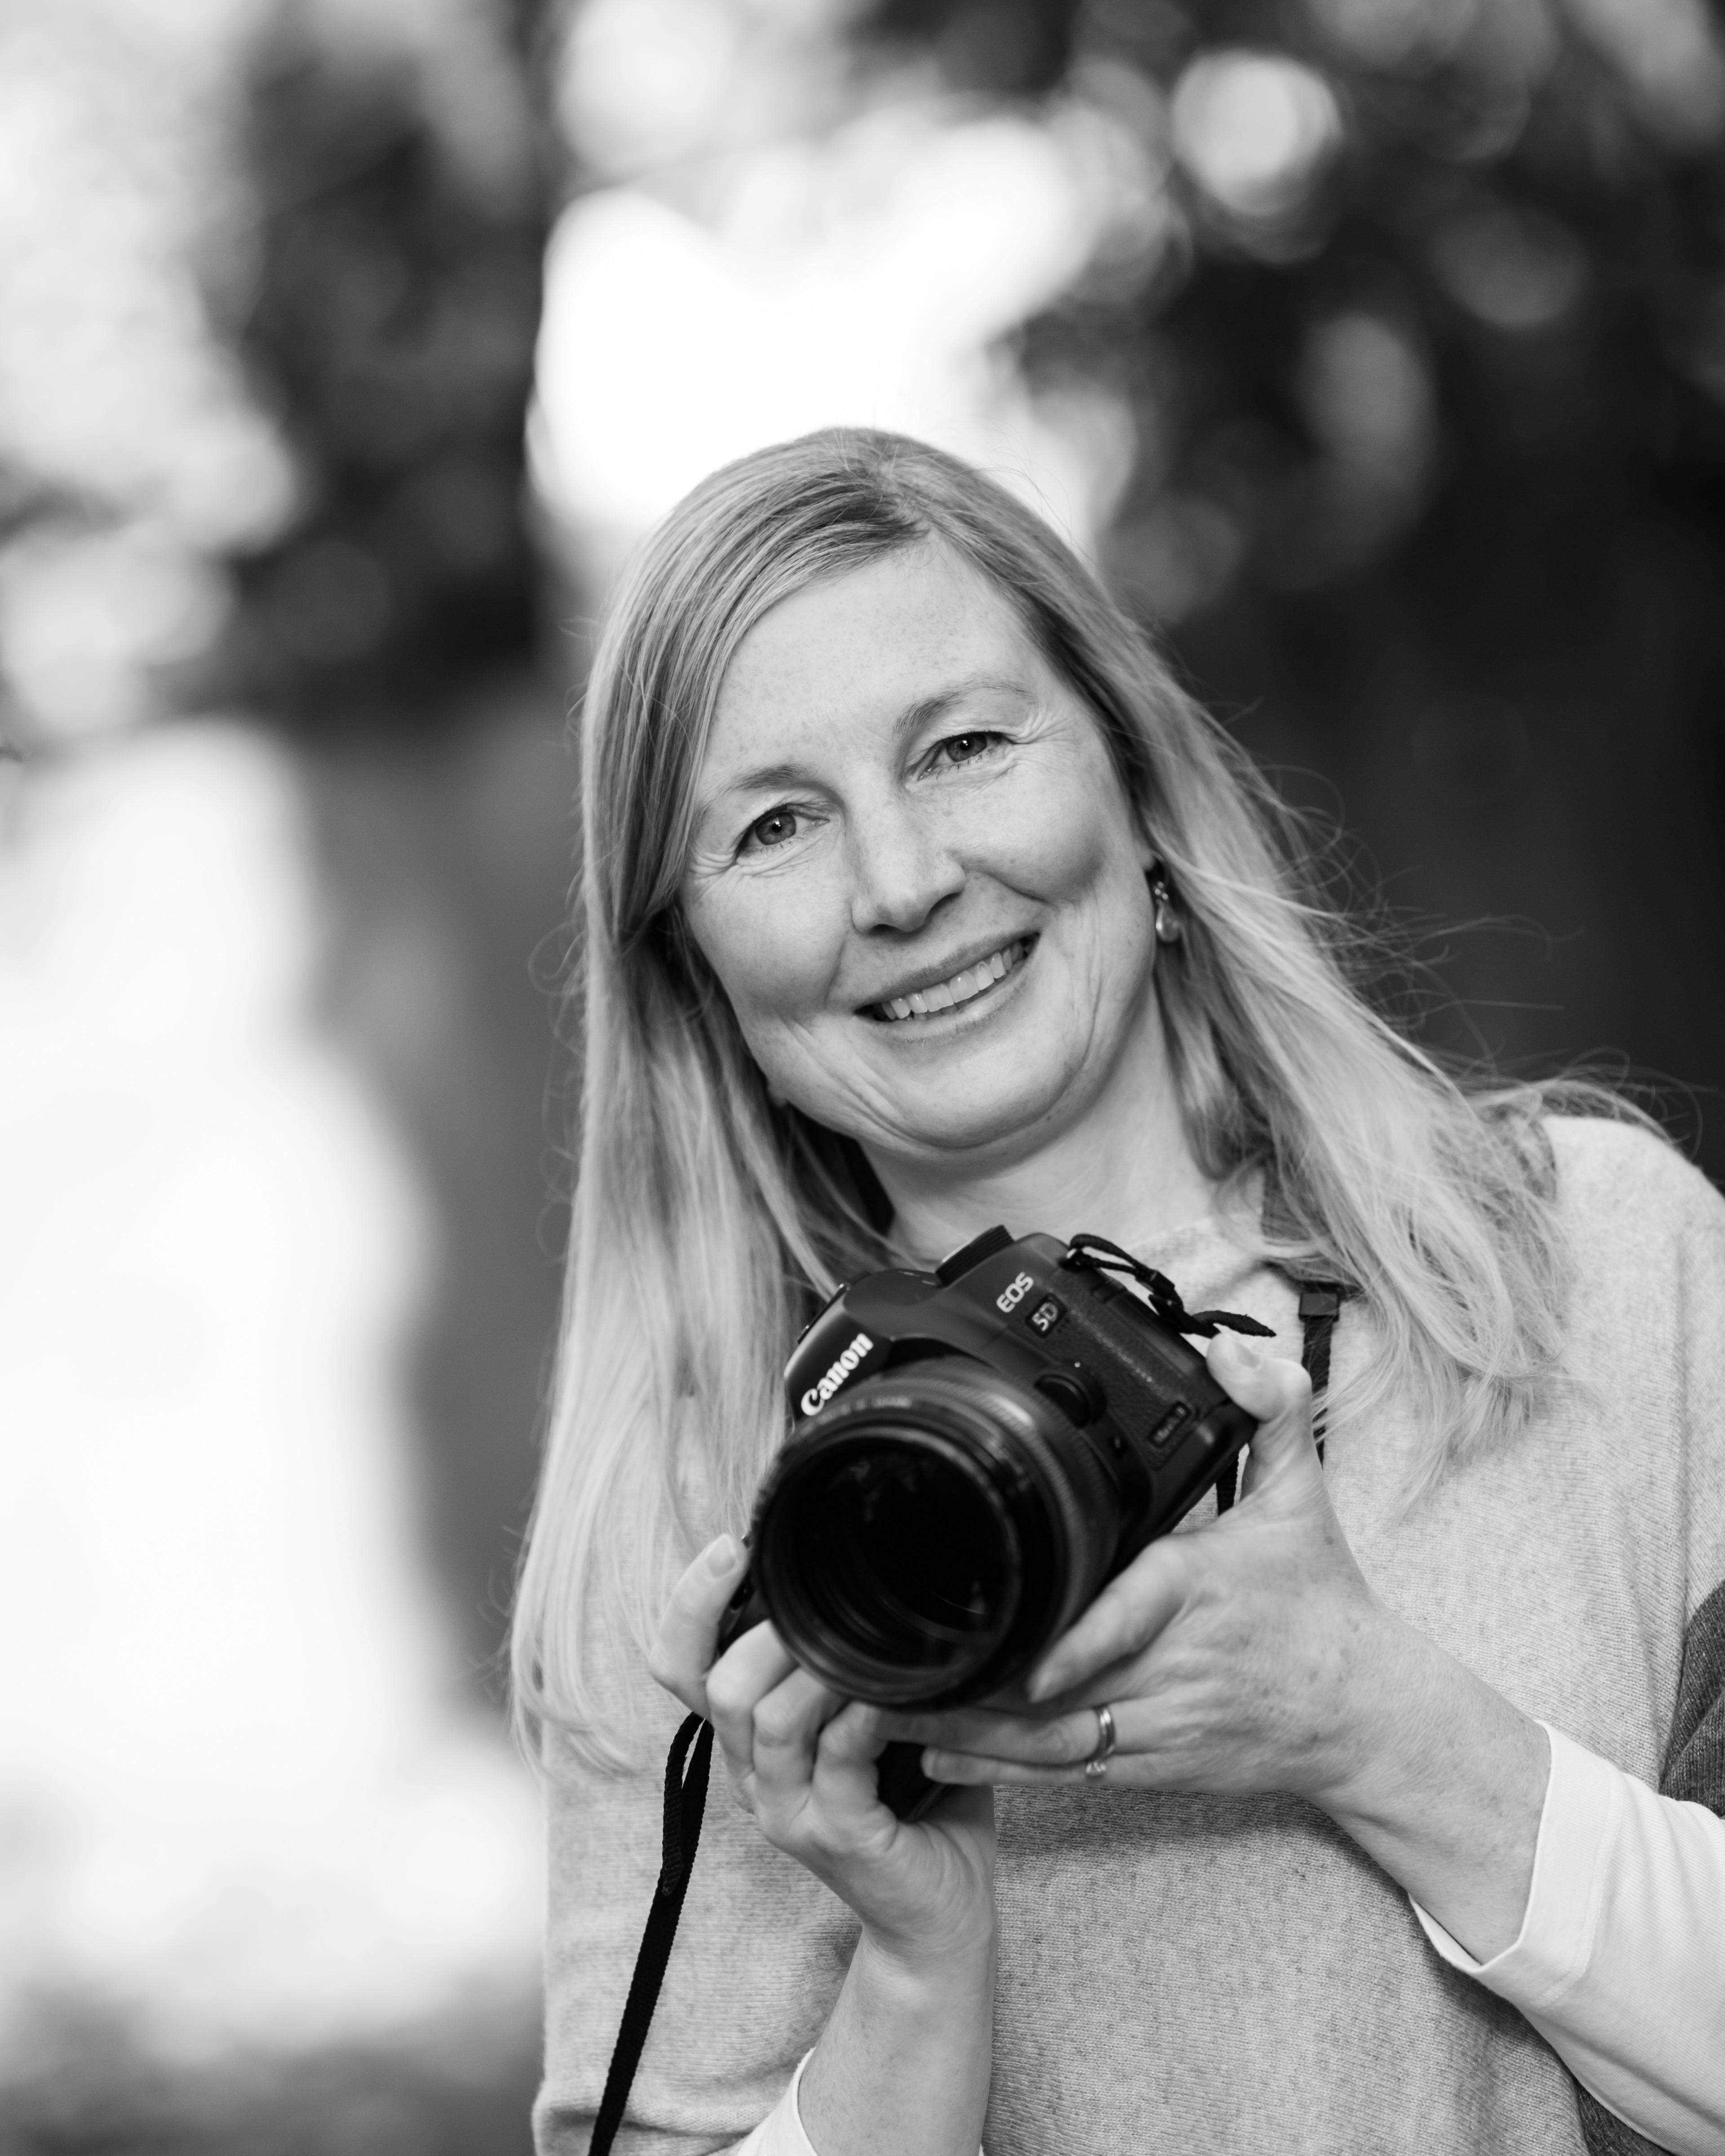
Kay also offered to take some headshots for me which I was thrilled about as I needed some updated headshots for my website and social media. This was a good experience again as I do a lot of professional headshots myself so it’s good to experience being the other side of the camera. I must admit to feeling a little self-conscious and struggling with whether to smile and how much to smile! I know we all feel like this when our photo is being taken (especially if it’s a photo of just yourself), so as the photographer, I try to put people at ease by chatting to them and even trying to make them laugh and giggle. You might not want to be smiling in all your photos, but it’s good to get a variety and laughter always makes for a very natural expression. You can find out more details about my headshot sessions here.
After the shoot
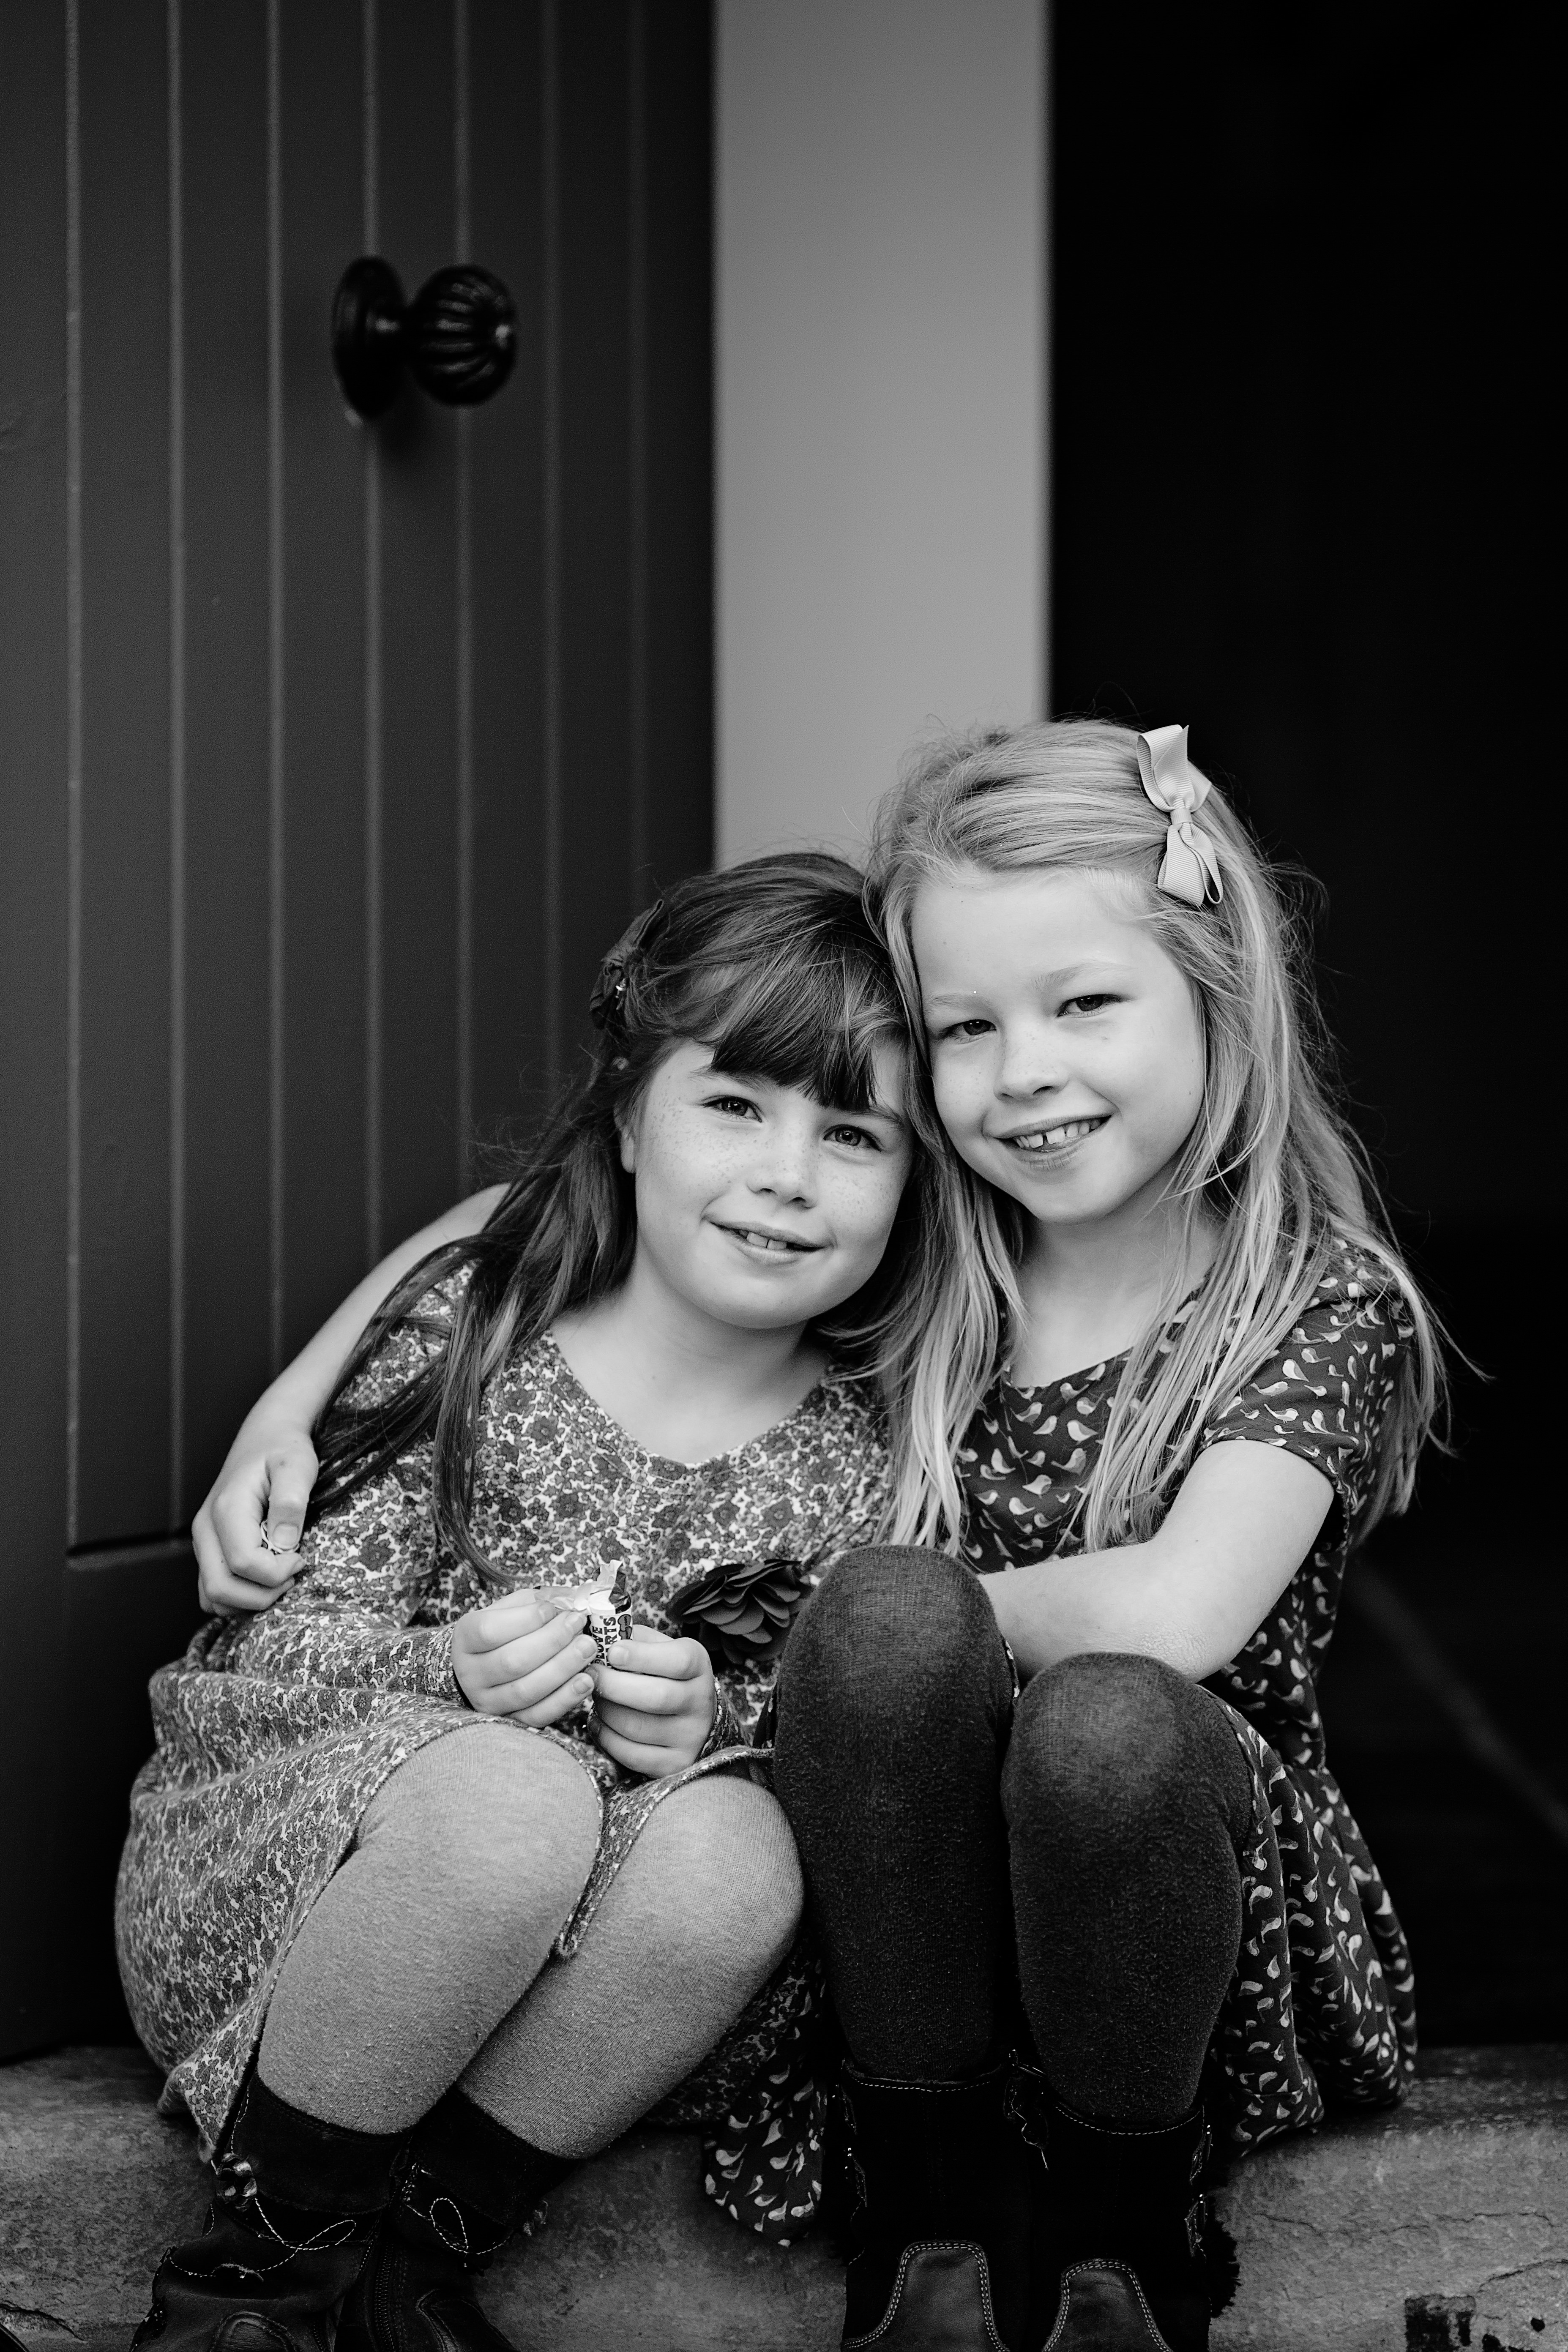
After the shoot we went back to Kay’s house for a bit (the image below was taken outside her front door) to gather our things. She showed me some examples of her fine art prints and we discussed when the images would be ready and what was included in the mini session package. After a bit more photography chat we said our thank yous and headed off home.
Delivery of prints and images
I must admit to being very excited about receiving the images. The last time I booked a professional shoot was when the girls were very little and before I got into photography myself. I’m so happy that I still have that excitement and becoming a photographer hasn’t changed this.
Kay sent me through the images on a gallery to choose from. As you can imagine, I was delighted with them all and I ended up buying most of the digitals, allowing me to share them and make my own prints. She also included one fine art print in the package which I’ll have framed and put up on the wall.
I’ve just ordered some art blocks using the black and white images of the girls which will go up in our hallway and a large multi-aperture frame which I will now be offering to all the families that have photo sessions with me (details to follow once the samples arrive).
Top tips
So if you are thinking about booking a photo session or have one coming up, my top tips would be….
-
Put some thought into what you are going to wear beforehand as clothing can make all the difference to the final images.
-
Allow plenty of time to get ready for the shoot on the day (especially if you have girls!) including choosing outfits and doing hair.
-
Pack plenty of snacks and water to keep the children going just in case they get hungry or for a comfort break during the session.
-
Relax and enjoy the session itself and let the photographer direct you. If you want any particular shots, then just say. It’s always useful for the photographer to know if the children have a favourite game, for example or if you’ve always wanted a shot of the family over that garden gate.
-
Order lots of prints from your session and frame them straight away. Wall art prints are also a lovely option to display your images. Don’t delay printing as you might not get around to it!
-
Finally enjoy looking at your images and sharing with friends and family. You will always have them to look back on and treasure for many years to come.
I am really pleased that I booked this session as I have some gorgeous images of all of us to treasure and keep. I hope this post is helpful and if you are thinking about booking a family or children’s session then do please get in touch for more details. I am planning some mini sessions similar to this one in the spring. Do keep an eye out for more info or get in touch if you would like me to email you with the details and dates.
What to wear for a spring/summer photo session
children
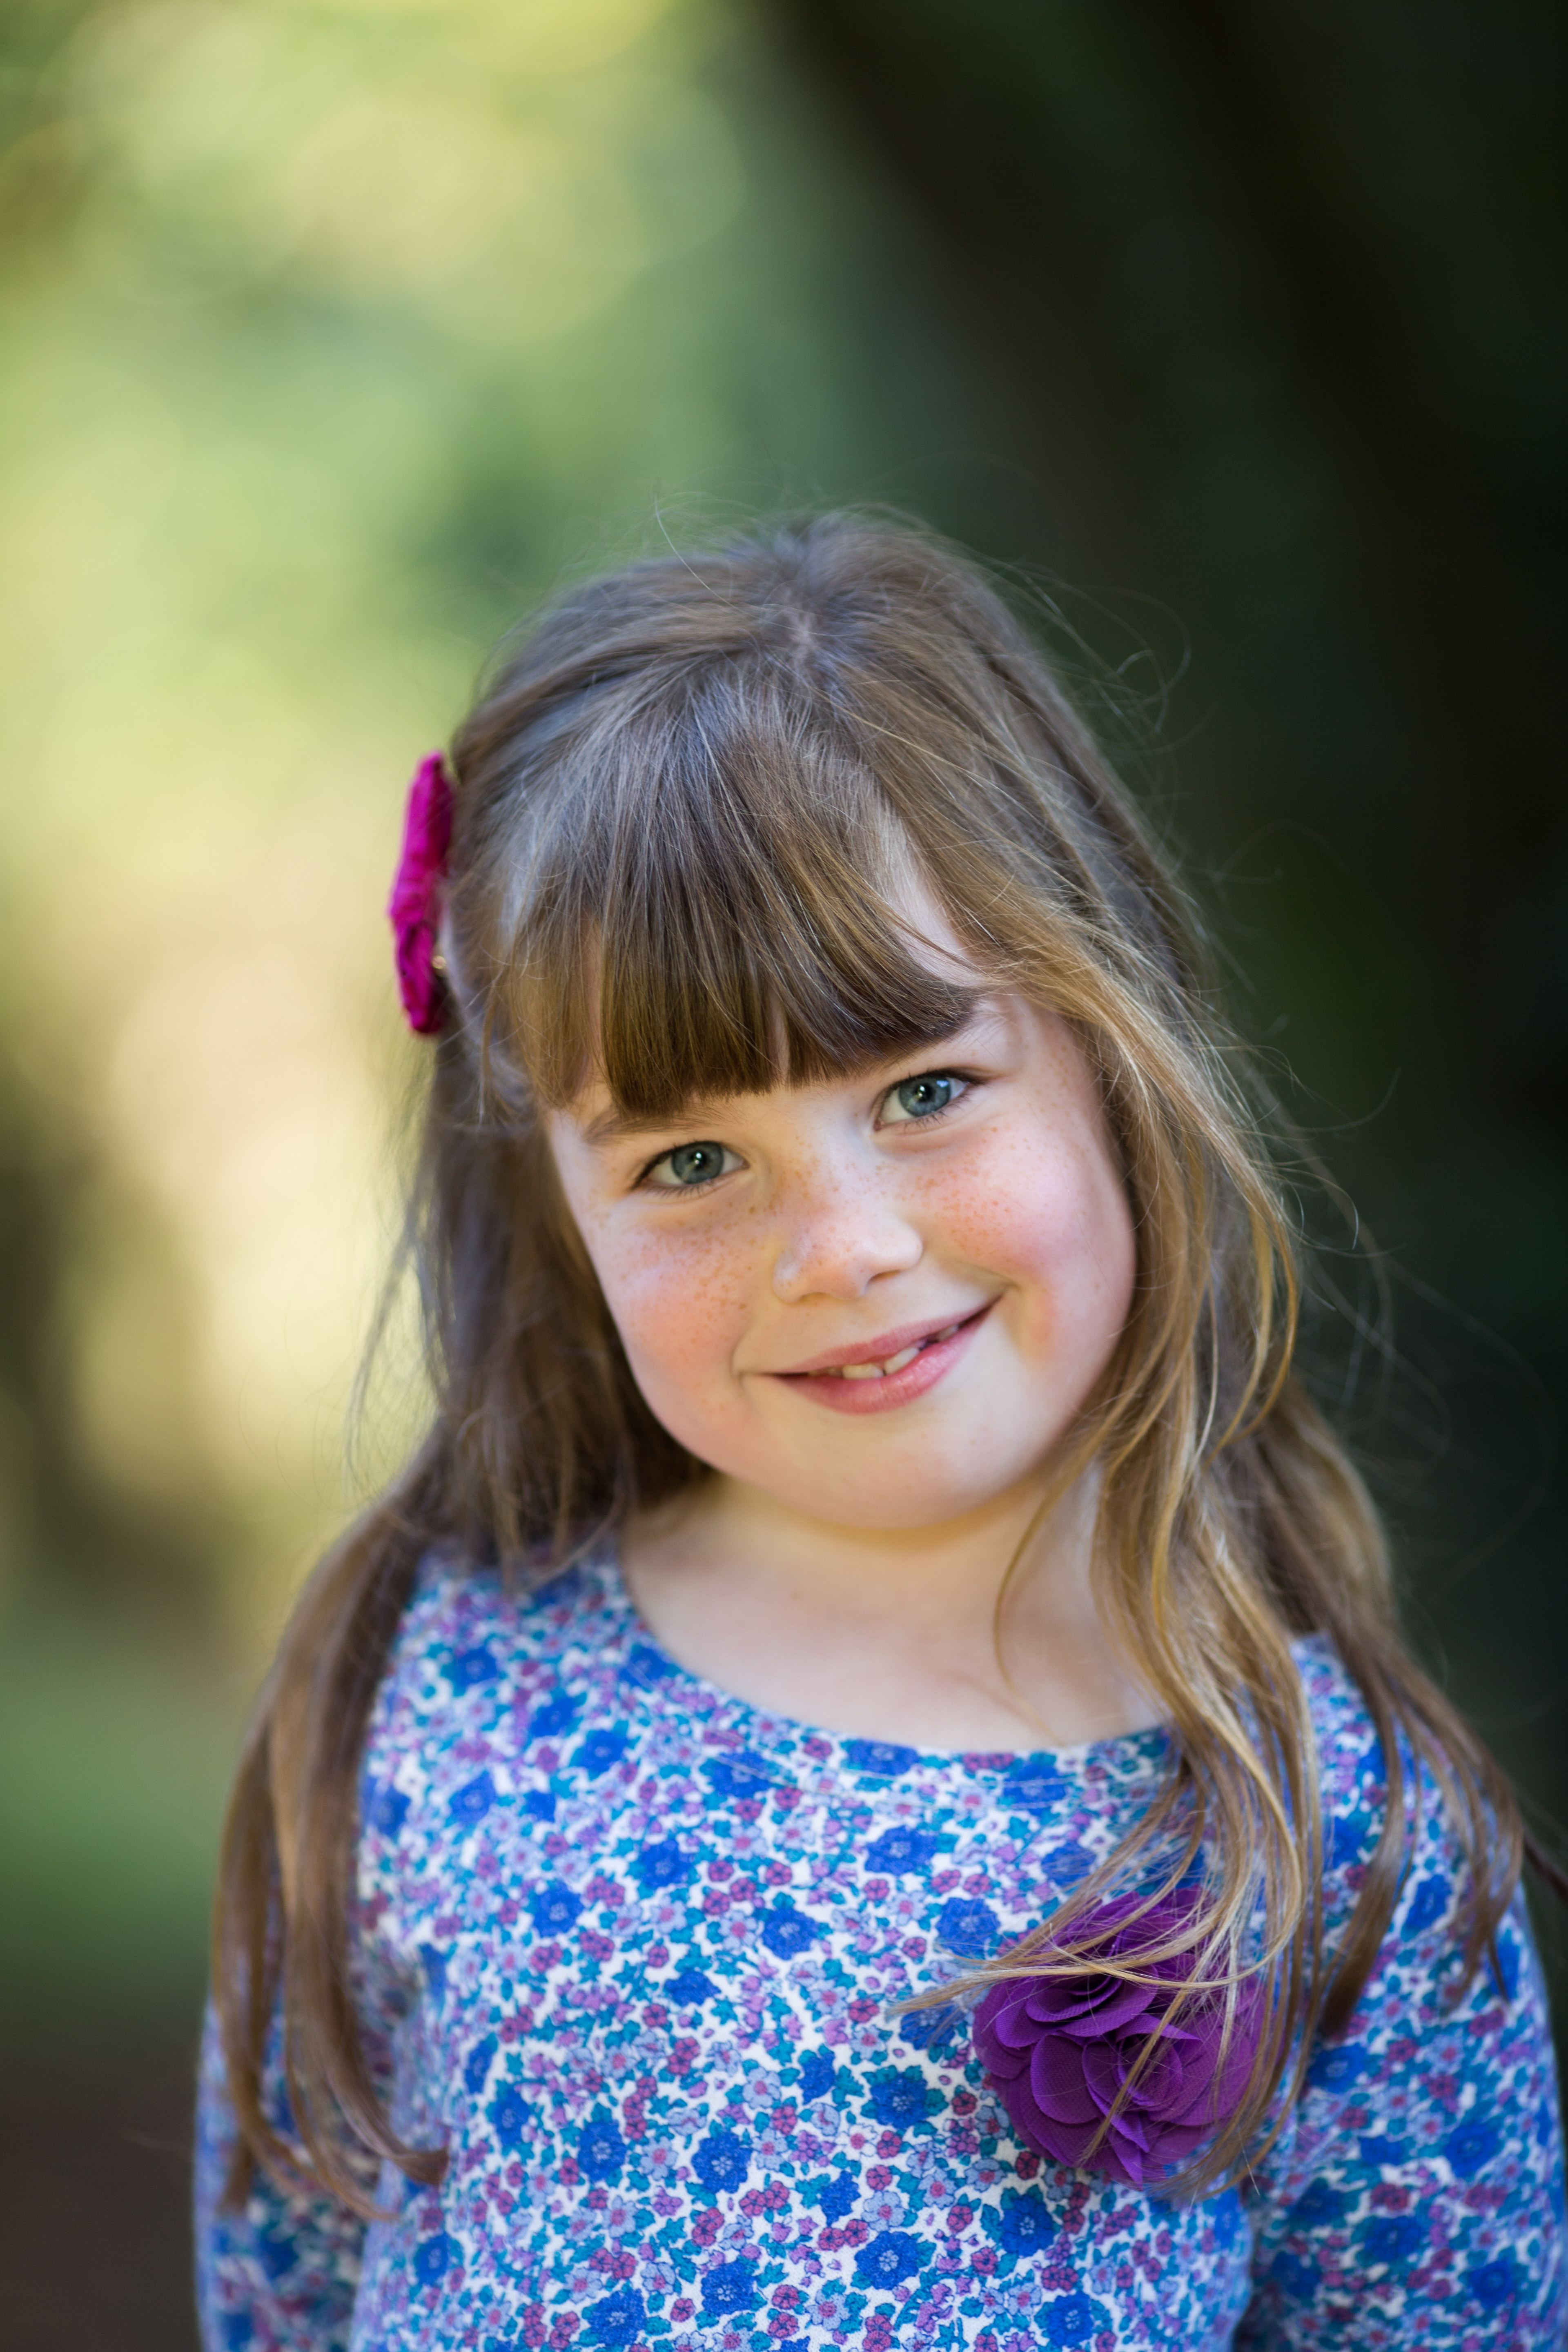
Now spring is finally here (yay!) I thought I would put together some top tips on what to wear for a spring/summer shoot. Most people are unsure about what exactly to wear when they book a photo session so I always try to give some tips beforehand. It’s really worth putting in a bit of thought and effort before you come along to your session as the clothes, and in particular the colours you choose, can make all the difference to the final result.
Of course what you wear does come down to your individual style and it’s important not to stray too far away from what you or your children would usually wear, otherwise you won’t feel like yourselves. If in doubt, I always suggest bringing a couple of options and I can have a quick look at what you have brought before we start.
Children
When it comes to deciding what the children are going to wear, there are no rules as such, but try to lean towards clothes which are more classic and timeless, which will help to ensure that the photos won’t look dated in a few years time
Try to avoid clothing with bold logos or children’s characters on (e.g. Disney’s Frozen!) or anything that is very in fashion at the moment.
It’s a good idea to bring layers for the children, you can always add them or take them off depending on the weather.
Some suggestions for girls
- Jeans
- Tutu skirts
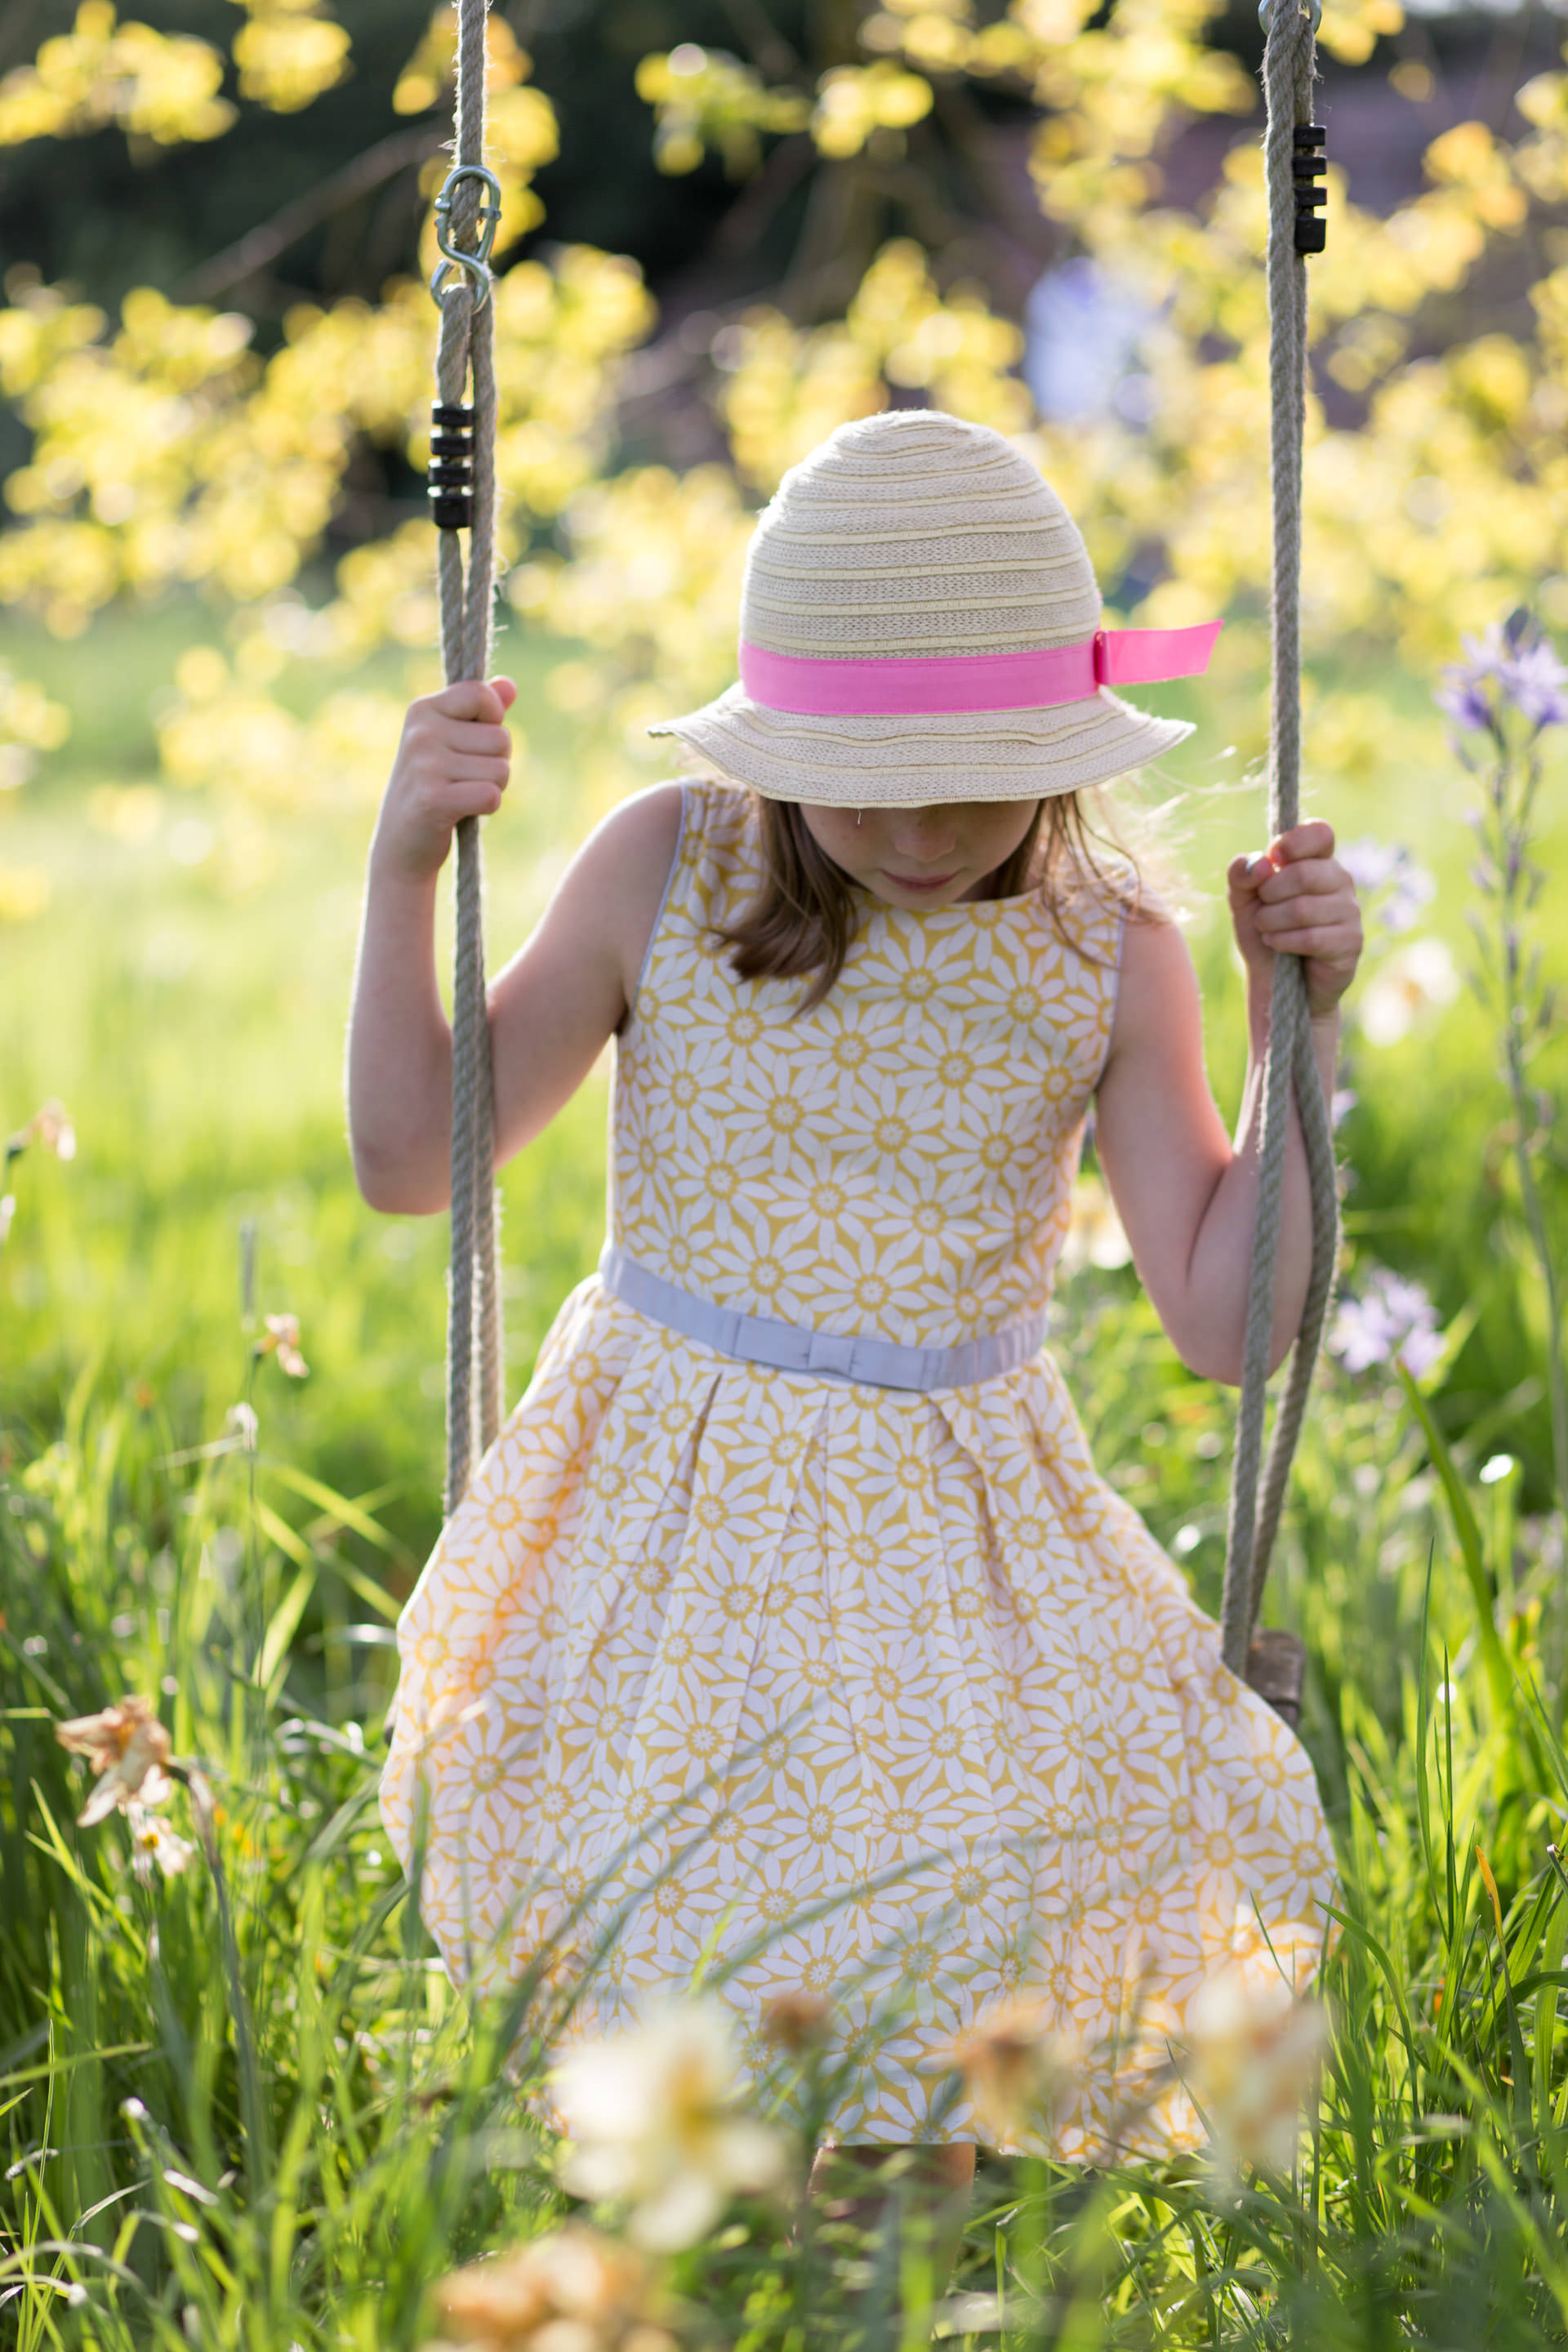
- Classic dresses in neutral or pastel colours
- Dresses with prints
- Pretty cardigans
- Leggings or knee high socks
- Ballerina type shoes
- Boots or wellies
- Hats and hair accessories
Some suggestions for boys
- Jeans or neutral coloured trousers
- Solid t-shirt with an open shirt over it – the shirt can be plain or have a check/classic pattern in traditional colours
- Converse style shoes or sailor shoes
- Hats or a cap
Adults
Again, there is no right or wrong in terms of what you should wear and everyone will have their own individual style. Think spring/summer style and bring layers in case it is a bit chilly. For the mums – Jeans/trousers and a top or a dress/skirt are equally fine depending on what you prefer. If you usually wear make up then I would suggest putting some on 🙂
For the dads – jeans or trousers and a shirt, perhaps with a jumper to go over the top if needed, depending on the weather.
Choose spring/summer, white or neutral colours and the most important thing is to feel relaxed and comfortable. If in doubt, bring a couple of options and we can take a look before we start.
Colours and patterns
Colours are really key so try to give this some thought beforehand. Think spring/summer colours including both white and cream, which work well.
For girls you could have blues, pinks, purples as well as white and cream.
For boys, blue, white, beige, grey or other fairly neutral colours work well.
Please avoid wearing green as there will often be a lot of green in the background and also avoid black if possible.
Subtle patterns and checks are fine but avoid very strong patterns and bold prints.
2016 in Seasons
children
Well Happy New Year everyone! It’s a chilly January day and it’s 2017 at last…the children are back at school and it’s time to reflect on the year that has been. 2016 will be remembered by most as the year we voted for Brexit and Trump(!) as well as the year we very sadly lost many talented musicians, artists and broadcasters. I still can’t believe the wonderful Sir Terry Wogan is no longer with us.
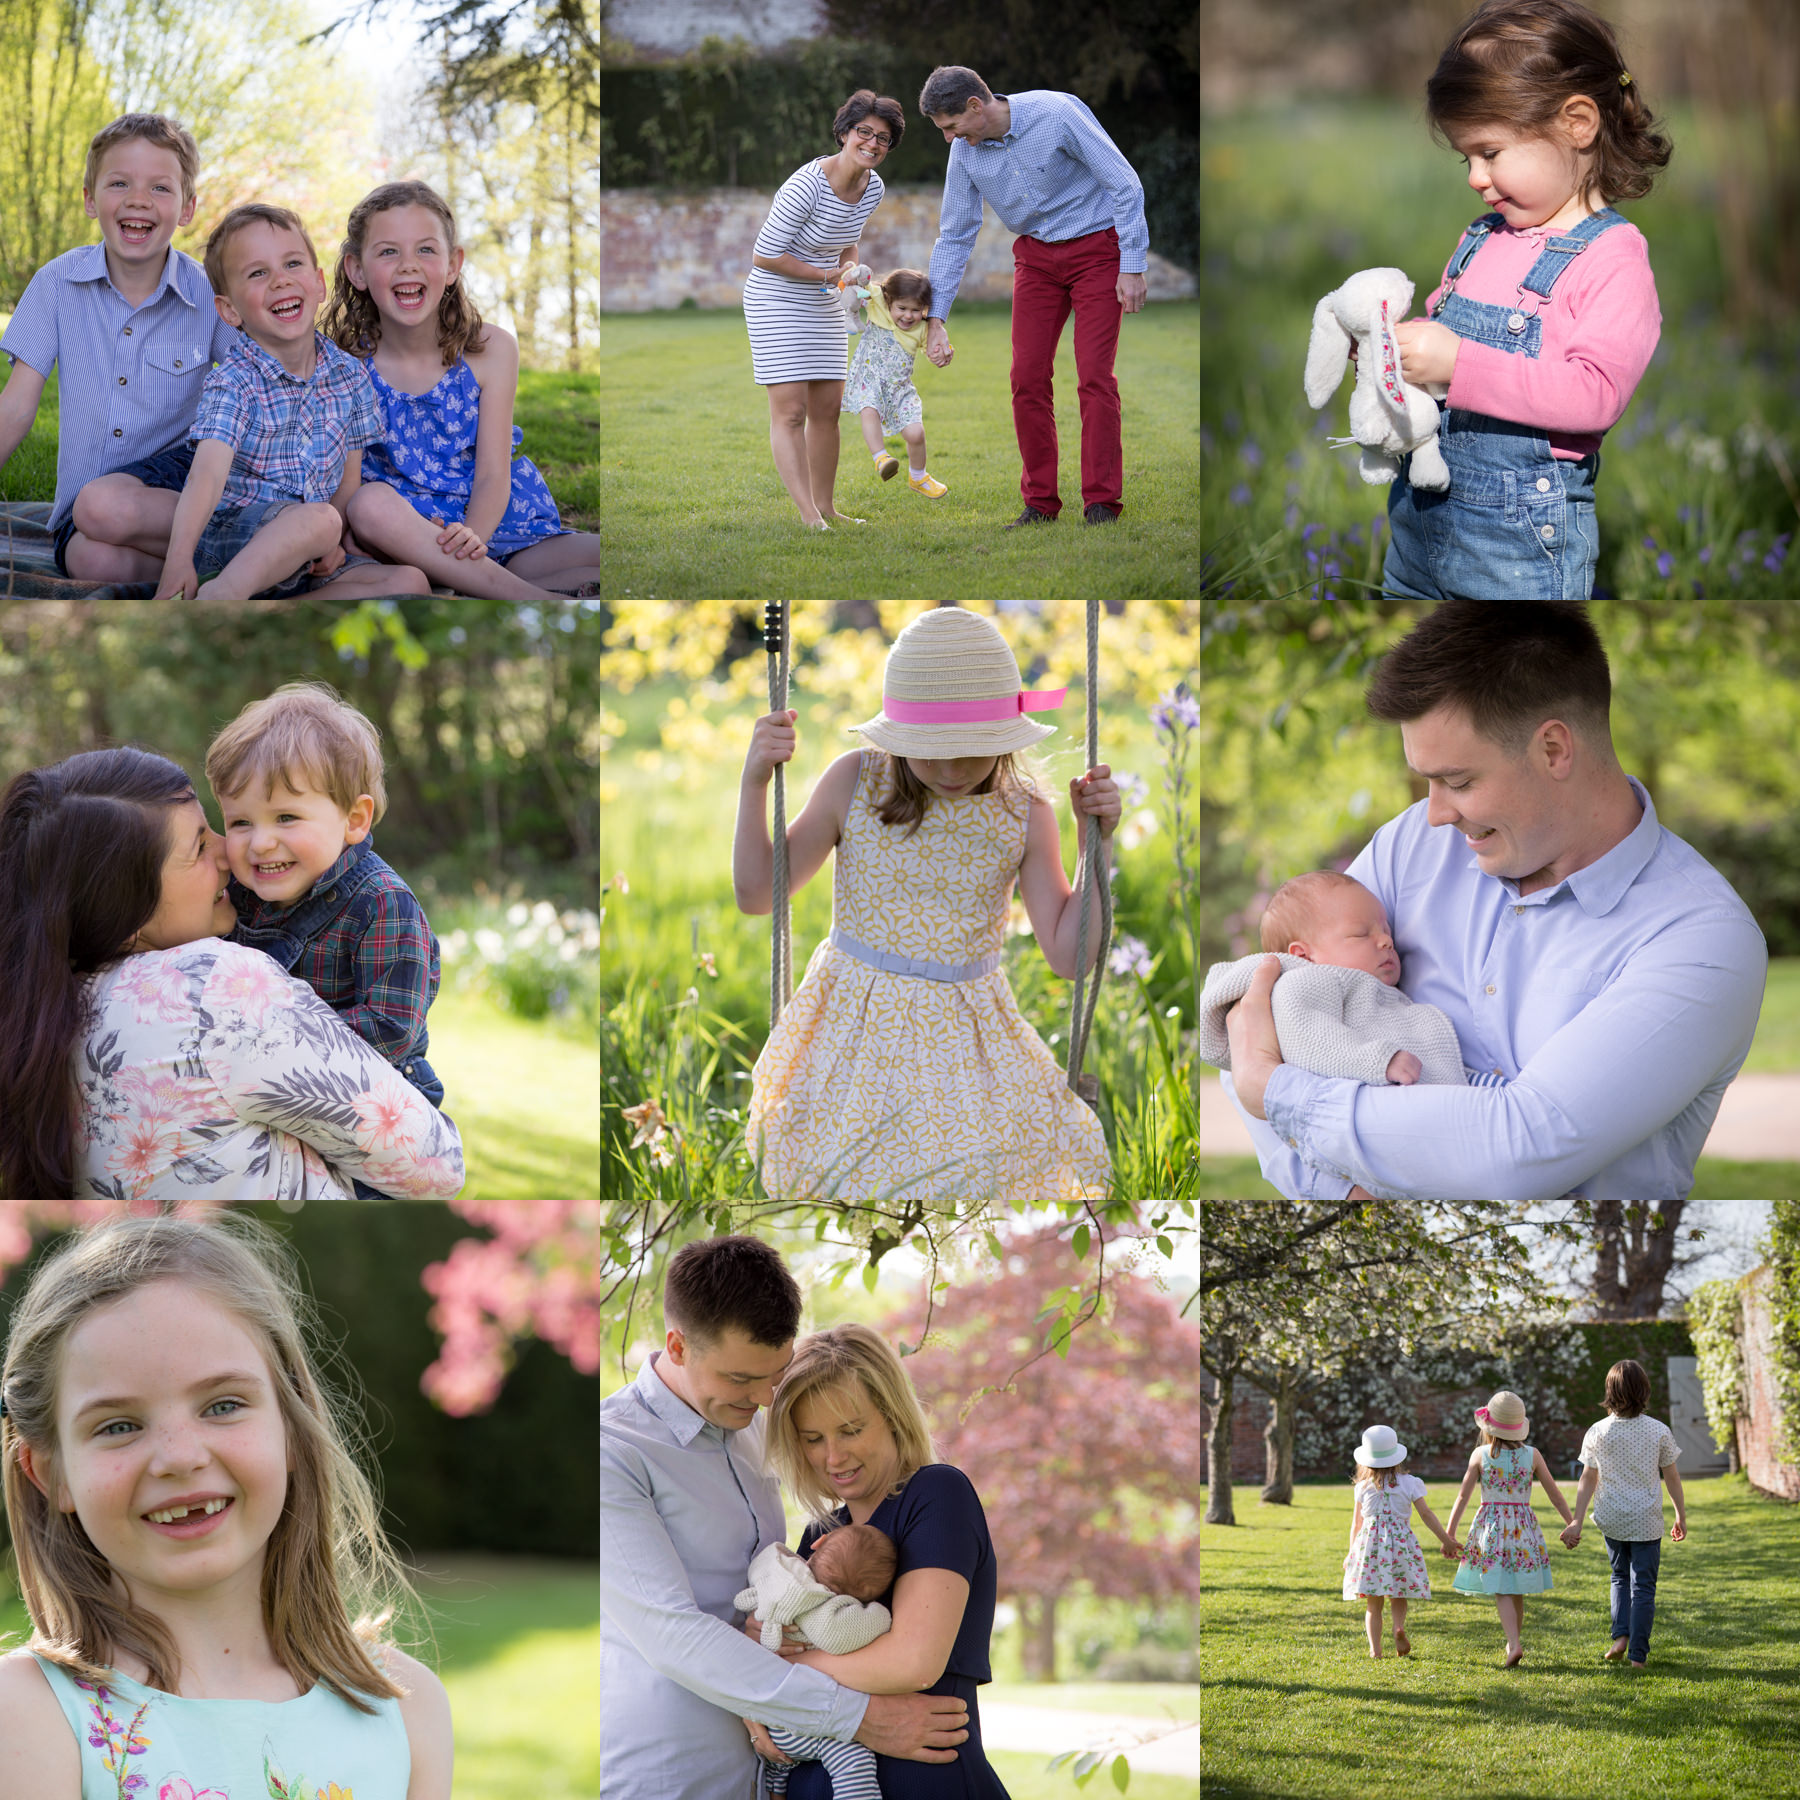
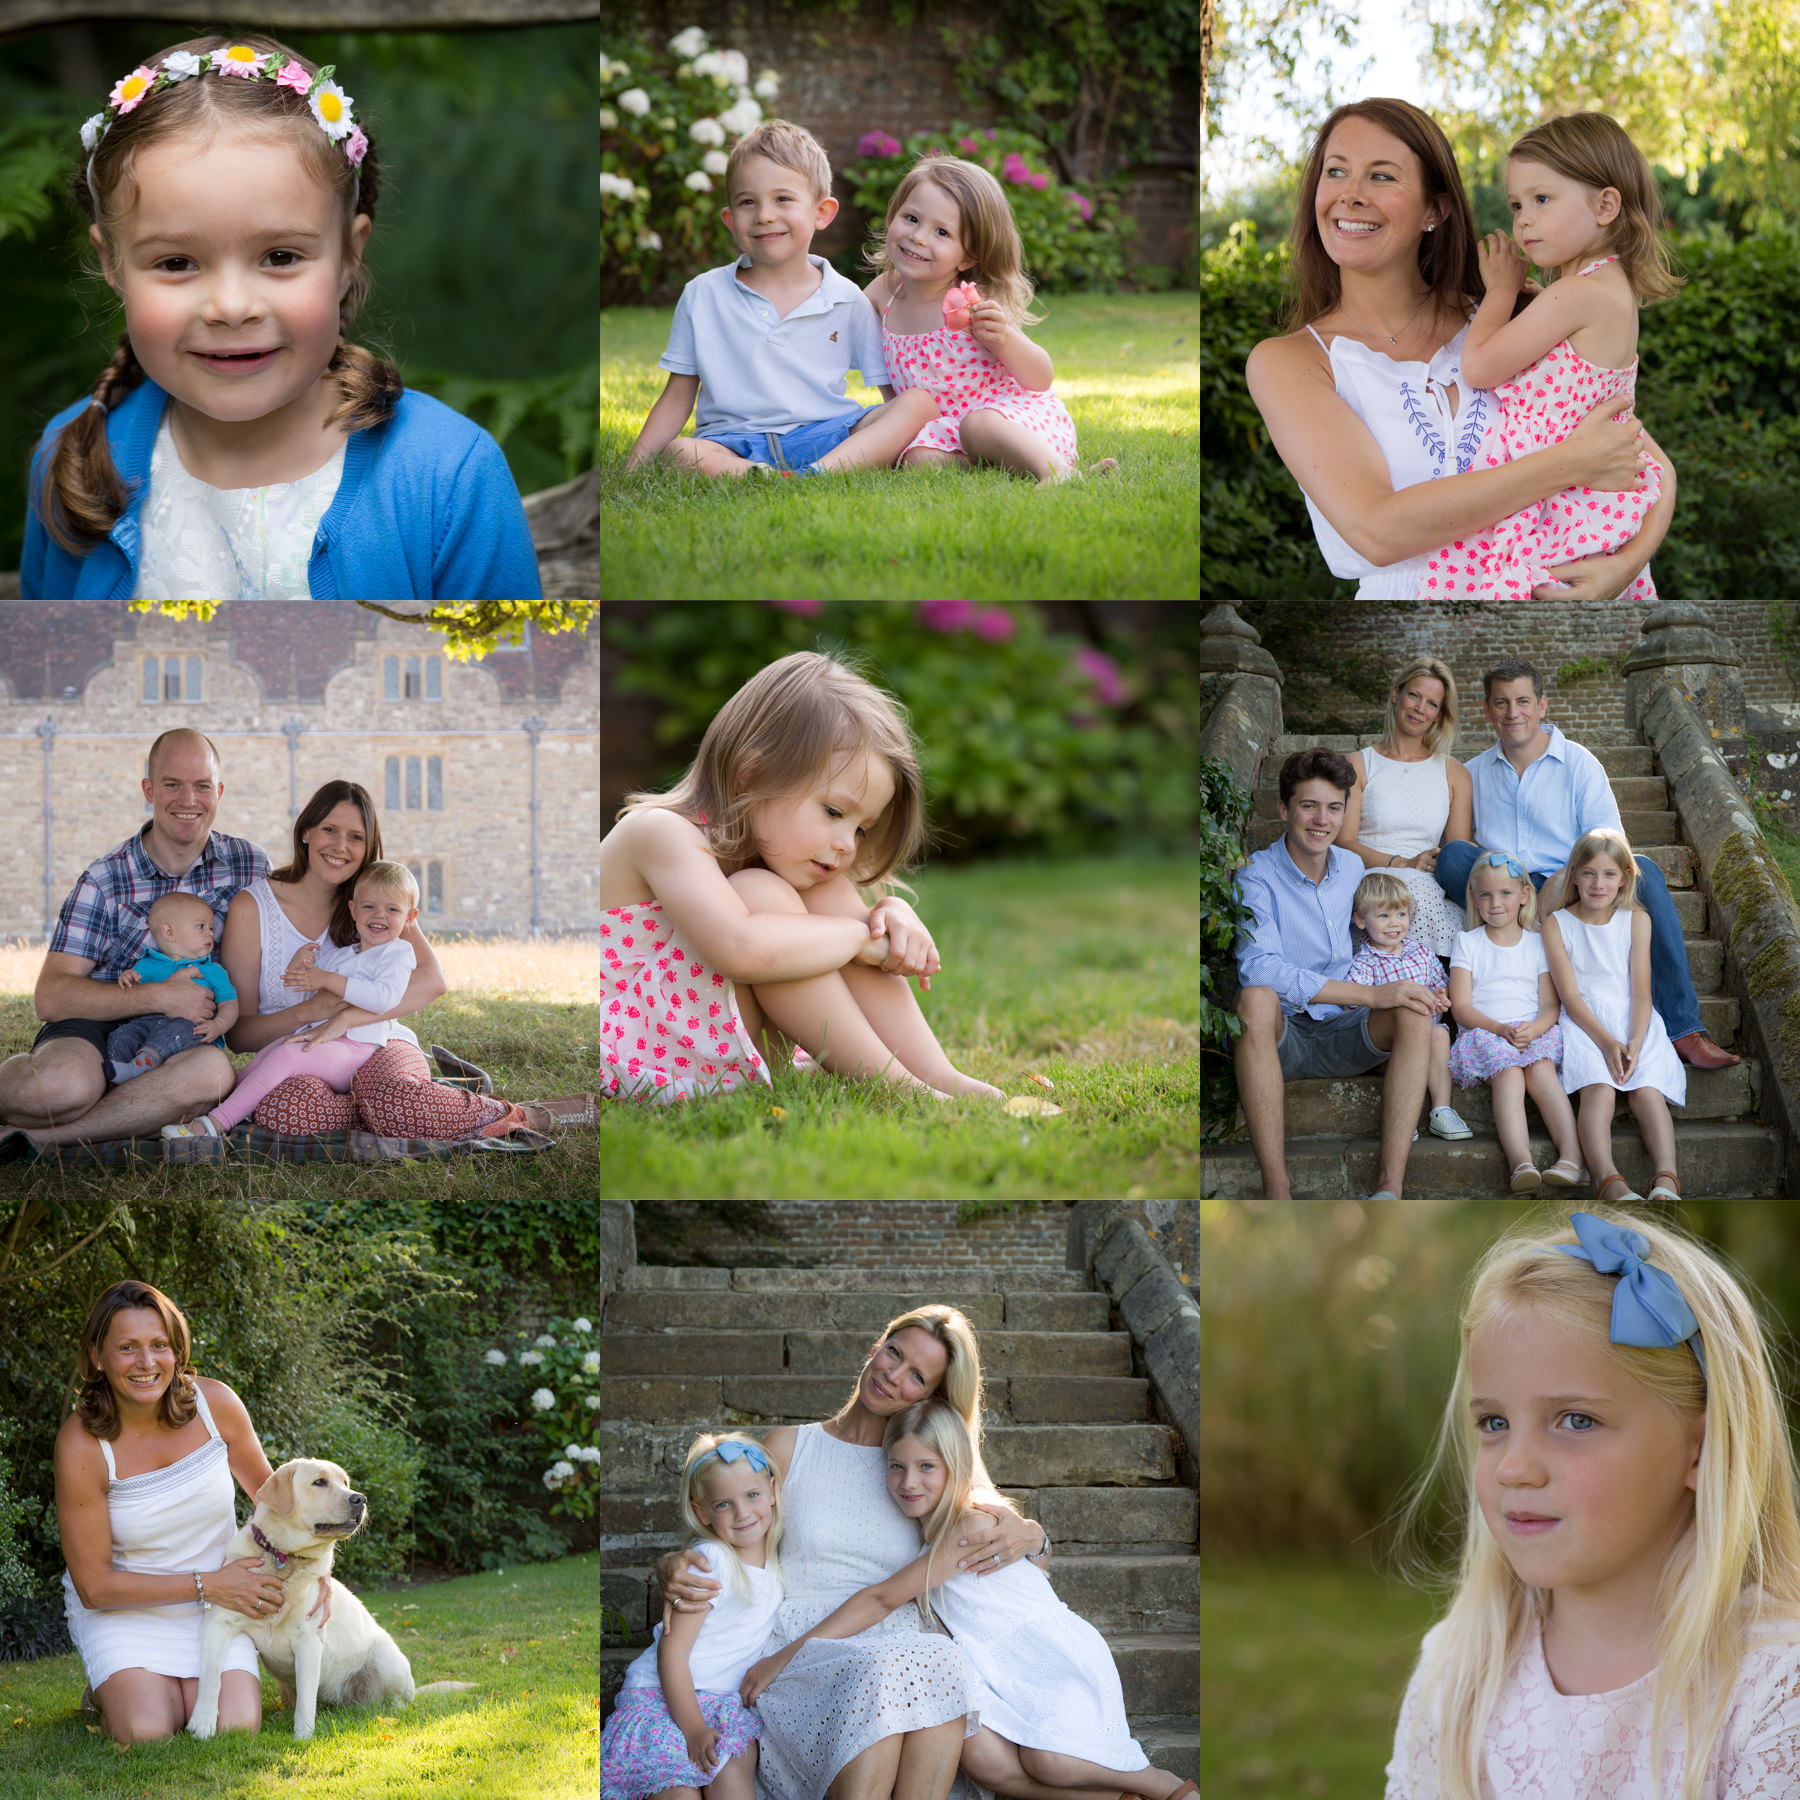
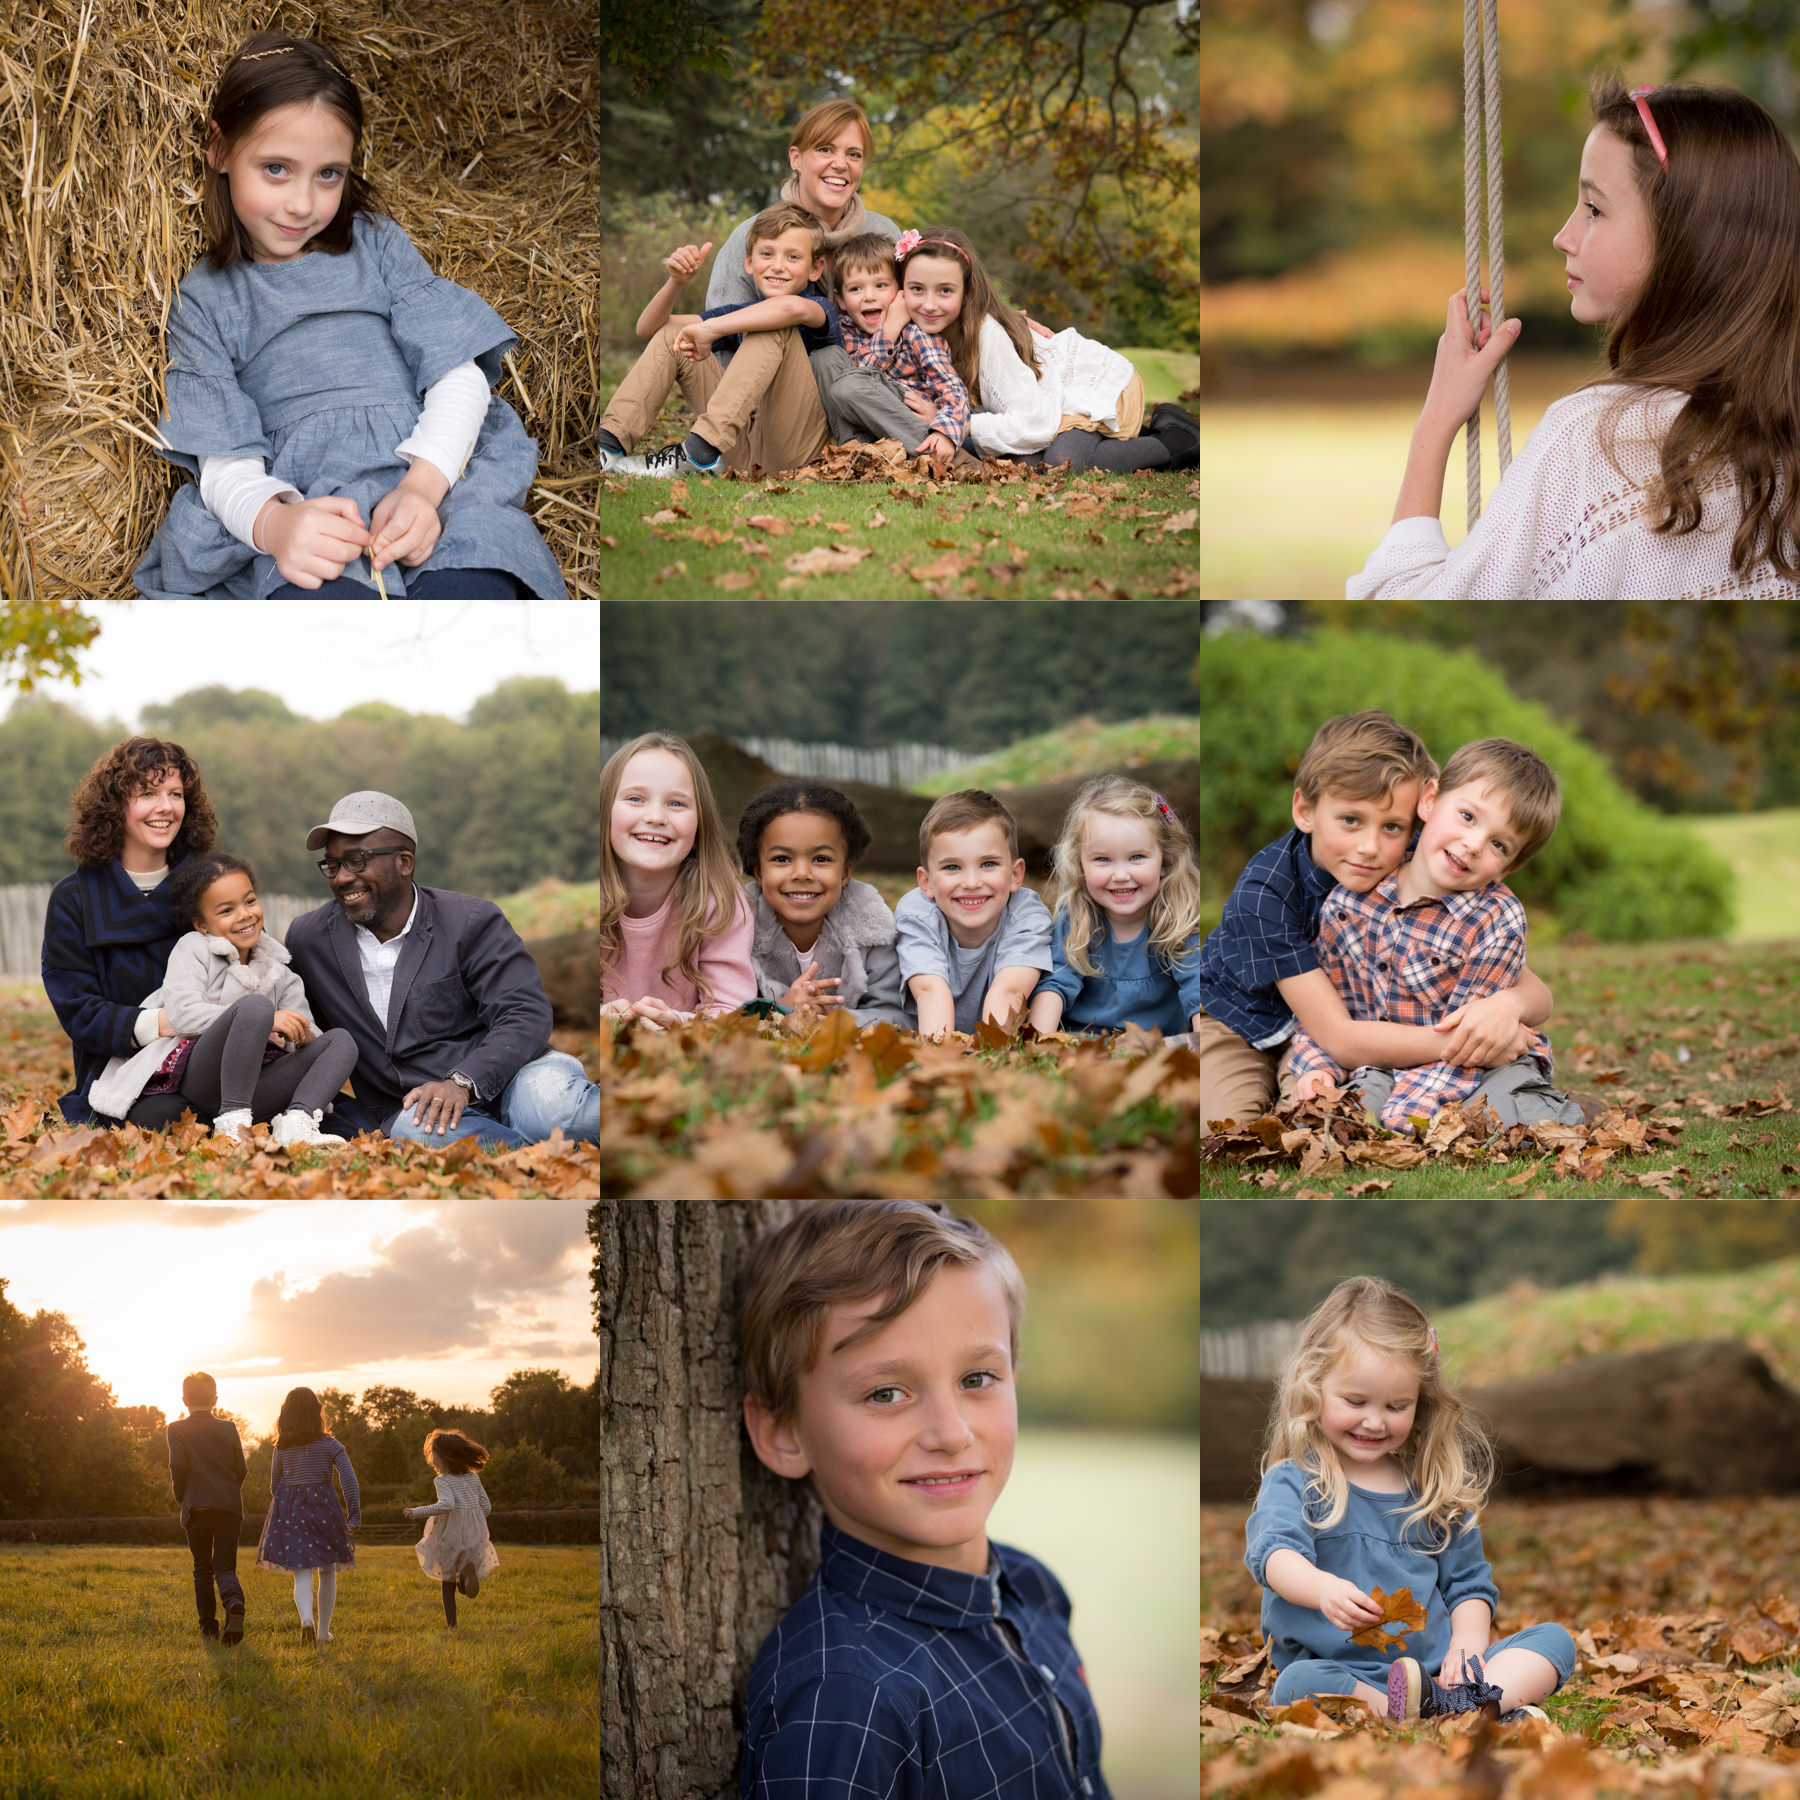
It was a tragic year in many ways but there were good things that happened too and I’m pleased to report that Little Olives Photography had a fantastic year. I’ve been busier than ever and had the pleasure of meeting and photographing so many new people over the course of 2016. I was trying to think how best to sum up the year and in the end I decided to present a selection of my favourite images as a collage for each season. Take a look at them below…
What struck me once I’d put together the collages, was the striking differences between the seasons – even more obvious than you would expect. I’ve only done a little basic editing on each of these images and done nothing to tweak the colours, so this is really how they were captured ‘in camera’ so to speak. As we progress through the seasons, not only do the colours of the leaves and foliage around us change, but the light changes as well. As a photographer I’m acutely aware of the changes in the light throughout the year and this of course affects the time of the day that it’s best to get out there with the camera. With longer days in spring and summer, it is best to be out either early in the morning or late afternoon/evening, whereas in autumn and winter the days are shorter and you can photograph later in the morning or early afternoon and still get lovely light. So if you’re thinking of getting some photographs done this year, you might find it interesting to look at the collages below and choose which season you prefer!
I specialise in photographing children and families, which I absolutely love doing and this year I met lots of new families through my photography which is definitely a highlight of the job for me as I love meeting people. In addition to this, I also work with other small businesses and in 2016 I worked with a number of local ‘mumpreneurs’, including Laura and Natalie of Mum’s the Word in Tunbridge Wells, Beatrix from Mytime pilates studio in Penshurst and Claudia of Purple Flour (handcrafted cakes and biscuits) providing photos for their websites and social media. I really enjoy working with other local businesses and it can make a nice change from running around after small children!
I also photographed a Christening, several birthday parties and did some lovely commissions as birthday and Christmas gifts (40th and 70th birthday gifts were very popular in 2016!). Once again I’ve also been involved in the Penshurst Christmas Market where I had a stall this year. The Christmas Market was a huge success again, raising much needed funds for Penshurst Church and the Pickering Cancer drop-in Centre. I met and chatted to so many lovely local people over the course of the two day market. If you booked a session with me then I look forward to photographing your family/children this year.
If you’re interested in booking a photo session with me for 2017 then do get in touch (email claire@littleolives.co.uk). I look forward to meeting you. Here’s hoping for another fabulous year with plenty of sunshine and beautiful light. Happy 2017 everyone!
